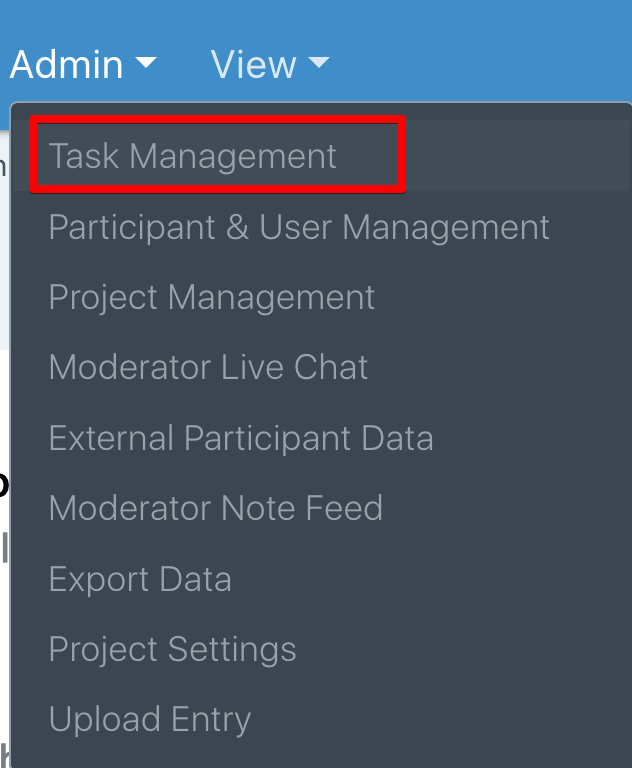
After creating your project, the next step is to add tasks for your participants to complete. It can be accessed within the Admin drop down in the top navigation.
Setting Up A Video Survey
Click the + Add task button on the top right corner of your screen to create new tasks. In this project type, the only option will be “Multi-Step Survey”
Welcome Page
The Initial page of a Video Survey is the Welcome Page. On this page you will put introductory test about your survey, no survey questions can be made on this page. You may want to copy and edit the below for your project!
We are thrilled to have you as a participant in our study, and we genuinely value your willingness to take part. We’ve got a fun and thought-provoking survey that won’t take up too much of your time—just 5-10 minutes.
Without any further delay, let us embark on this exciting journey together!
Here is the above text in the two boxes:

Adding Additional Questions to a Survey
Once you make the initial Welcome Page, you will see a screen like the one below:
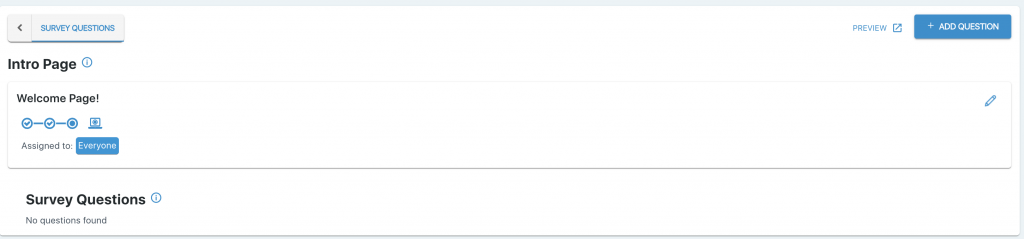
Click the + ADD QUESTION BOX on the top right and add question types to your survey.
The question types available for this are as follows:
Picture: This is a task that is picture-based. Participants can take in-the-moment pictures or submit pictures stored on their phones.
Audio: Participants can record and upload an audio file as an entry.
Video: This is a task that is video-based. Participants can take a live video or upload one that is stored on their phones.
Open End Text: This is a text-based task. Participants will type out answers.
Range: This is often called a scale question in survey software. You can decide on the necessary scale range (1-7, 1-10, etc.). This question type only allows numbers to be inserted for the range options.
Single Choice: This is a single-select question type. Participants select from a list you define and can only choose one answer.
Multiple Choice: This is a multi-select question type. Participants select from a list you define and can choose one or more answers.
Matrix Question: A matrix question consists of rows and columns, where the rows represent items or statements, and the columns represent answer options, like levels of agreement, frequency, or satisfaction. Participants can quickly rate or evaluate multiple items within the same framework, making it ideal for comparing responses across similar topics.
Heat Map: This question type allows you to insert a picture on the screen. Participants will view the picture and can provide feedback on what they like, dislike, or what is confusing.
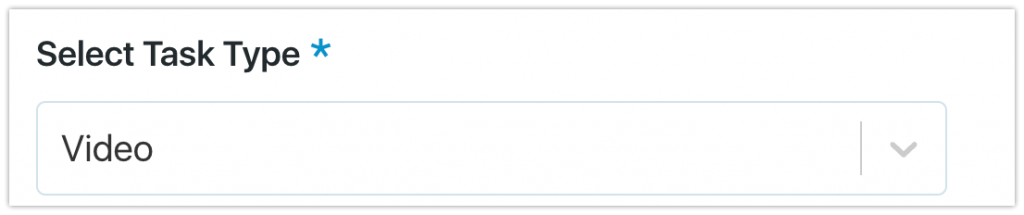
In my example below, I have added a Video task.
The next step is to enter a title for the task. You would type the title in the box shown below:

The ADD MEDIA button allows you to add media to a task to show respondents new product concepts, ads, and more. Participants can click on the media within the app to make it full-sized. The ideal image size is 1280 x 854 (width x height). In most circumstances, you will submit tasks without adding a picture or media file.
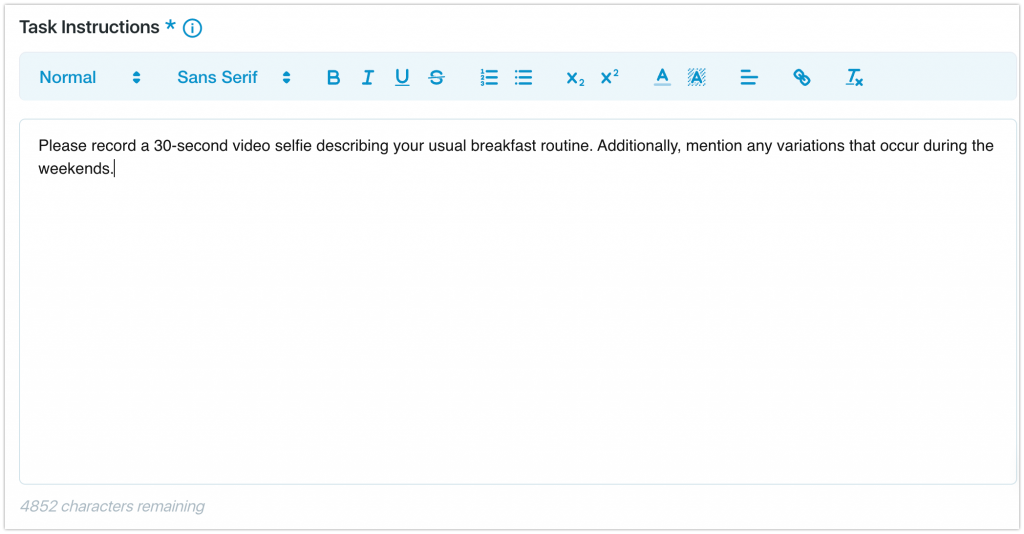
In the Task Instructions area, you will put the instructions for the task that participants must follow. The Task instructions area can handle 5,000 characters; a counter below shows how many characters remain. It is a best practice to keep task instructions brief and to be as concise as possible.
Once we do that, we’d click the “Add Question” button below to save it.
In the screenshot below, you will now see I have inserted several different question types:
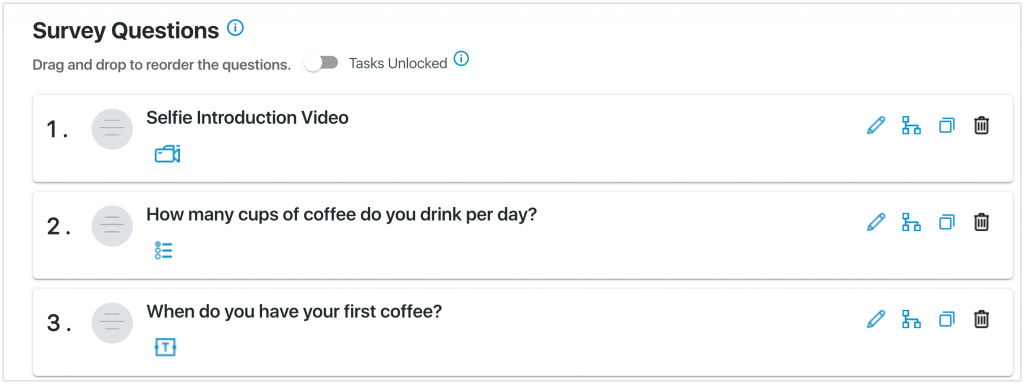
At the top of the page, you can click PREVIEW to test your survey.
Setting Up Display Logic
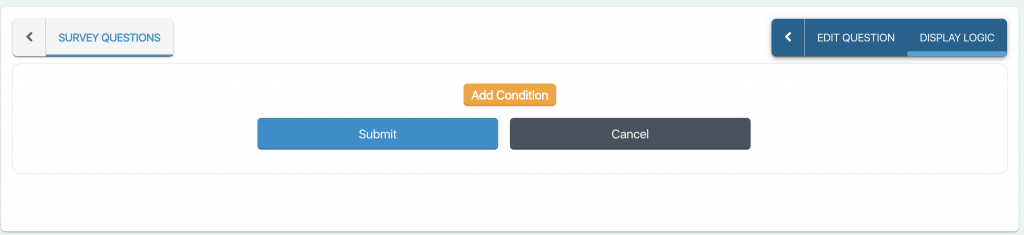
The display logic field can add basic logic to your survey. Click the display logic item to begin, as shown below:
Click the display logic item to begin, as shown below:

In this project, I want to show Task 7 – Why did you buy a Keurig machine? to participants who selected “Yes” on Task 6: Keurig Ownership.
When you click, you will see this:
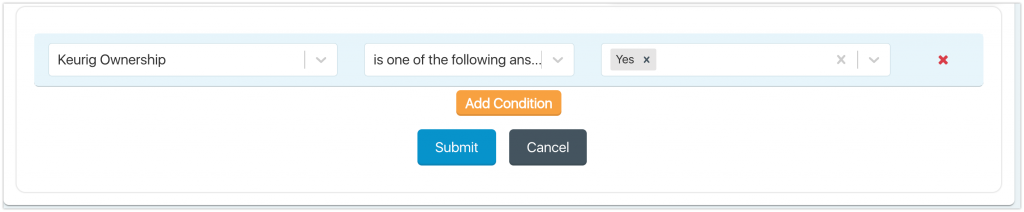
Click the “Add Condition” button, and change the options in the drop downs for the logic you want to include. This is the logic to show Task 7:
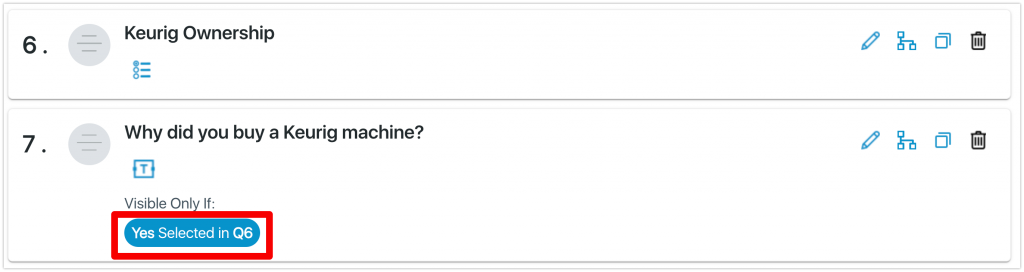
When you go back to the Survey Question page, you will now see this:
At the top of the page is a “PREVIEW” option. If clicked, you will get an exact replica of what a participant will see when you do the test. In Preview mode, no entry will be submitted to the dashboard.
Setting Up Range, Single Choice & Multiple Choice Tasks
If you have done a Diary or Mobile Ethnography project with EthOS, the instructions will be the same to add them to a multi-media survey project.
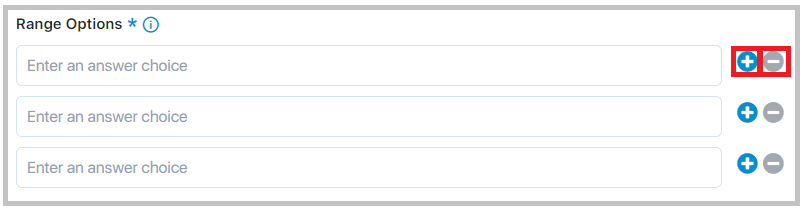
Range options: Please enter a number on separate choice lines. You can add a new line by clicking on the + or remove a line by clicking on -.
Note: If you have a scale of more than 10 values, consider making it into a single select question instead of a range.
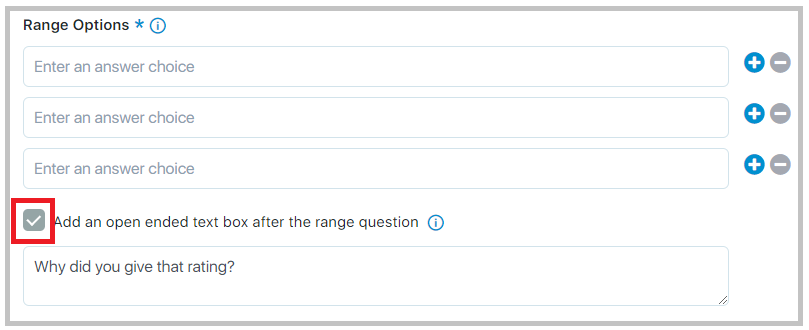
If you want additional information from the participants on why they chose a particular scale value and to provide more context, you can turn on the “open ended text box” by clicking on the check box. This will be a mandatory field that they must enter to submit the entry. However, if you choose not to select it, the participants won’t be shown a text box after the range question.
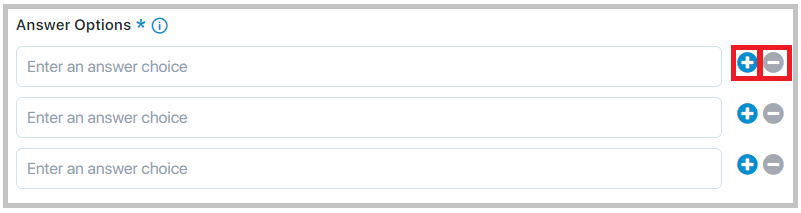
Single Choice Answer Options: Enter the answer list on separate answer choice lines. You can add a new line by clicking on the + or remove a line by clicking on -.
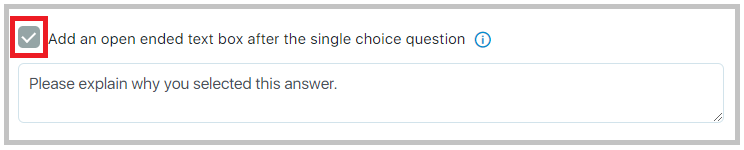
If you want additional information from the participants on why they chose a particular answer choice and to provide more context, you can turn on the “open-ended text box” by clicking on the check box. This will be a mandatory field that they must enter to submit the entry. However, if you choose not to select it, the participants won’t be shown a text box after the single select question.
Multiple Choice Answer Options: Enter the answer list on separate answer choice lines. You can add a new line by clicking on the + or remove a line by clicking on -.

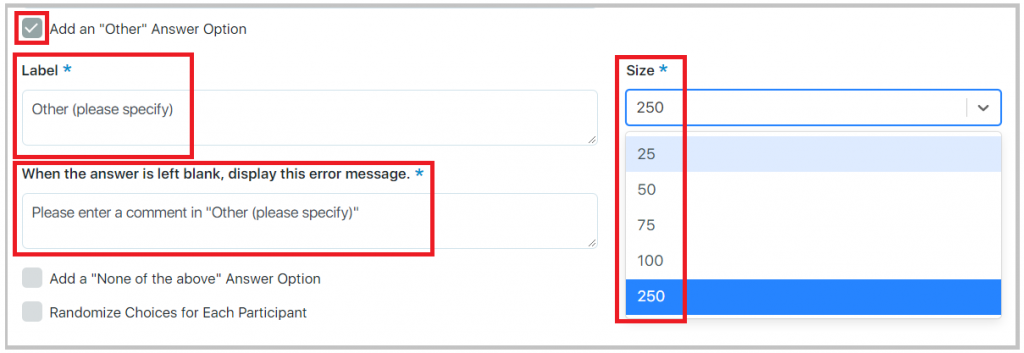
To add an ‘other’ option with an ‘other specify’ text box, select the ‘Add an “Other” Answer Option. Add in the label of your choice, or the default label will be displayed. For different languages, you can enter the translation for ‘Other specify’ in the label box (you will need to supply the translation). The size of the ‘other specify’ text box can be determined by selecting one of the options from the size dropdown box. By default, the size is set to 250 characters. If a participant does not enter any text in the ‘Other specify’ text box, an error message will be displayed. You can enter the error message of your choice in any language in the box provided. Otherwise, the default error message will be displayed to the participant.
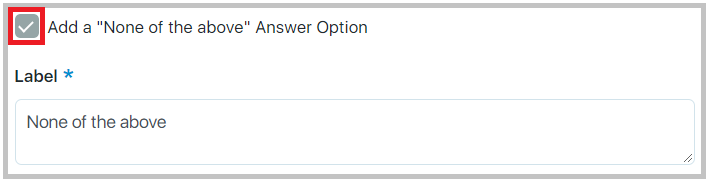
To add a “None of the above” answer option, select that particular option on the page. Once turned on, the participant will have a “None of the above” in the answer list, which will work exclusively with the rest of the answer list. You can change “None of the above” to the text of your choice, otherwise, the default text will be displayed to the participant.
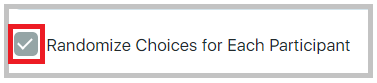
If you want all the participants to see the answer list in a randomized order, turn on the randomization by clicking on ‘Randomize Choices for Each participant’.
Note: When you select randomization, the answer list is randomized, but the ‘Other specify’ and ‘None of the above options (if turned on) always stay at the bottom of the list.
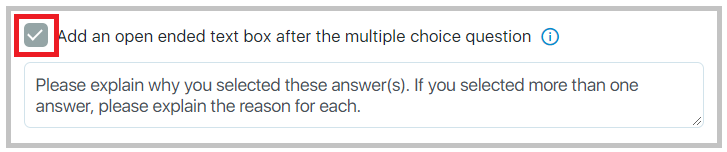
If you want additional information from the participants on why they chose answer choices and to provide more context, you can turn on the “open ended text box” by clicking on the check box. This will be a mandatory field that they must enter to submit the entry. However, if you choose not to select it, the participants won’t be shown a text box after the multi-select question. You can change the text by entering the text of your choice or language, otherwise, the default text will be displayed.
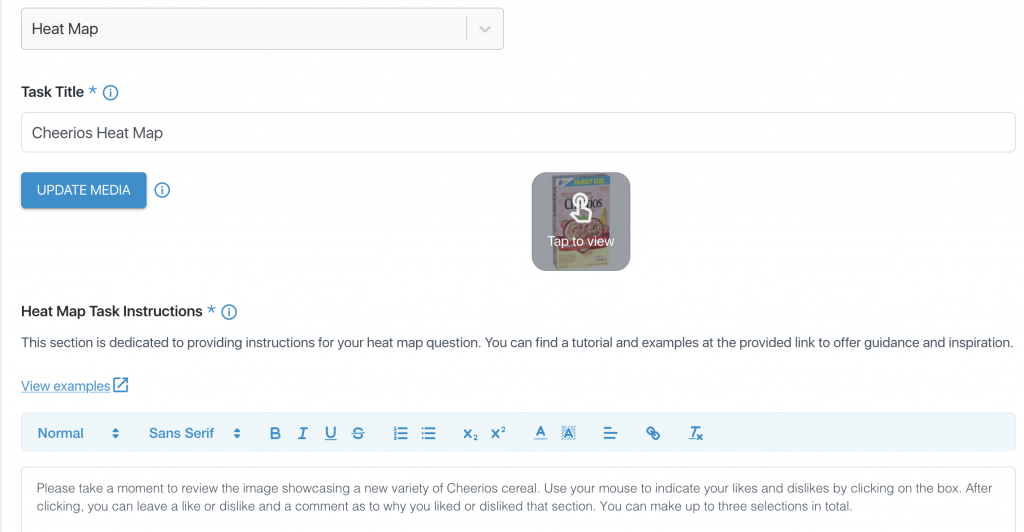
Setting Up A Heat Map Task
Task Title: The title is only used for filtering within the dashboard and will not be seen by participants
Heat Map Task Instructions: In this area, you tell the participants what to do in your heat map.
Here is a sample text and a picture:
Please take a moment to review the image showcasing a new variety of Cheerios cereal. Use your mouse to indicate your likes and dislikes by clicking on the box. After clicking, you can leave a like or dislike and a comment as to why you liked or disliked that section. You can make up to three selections in total.
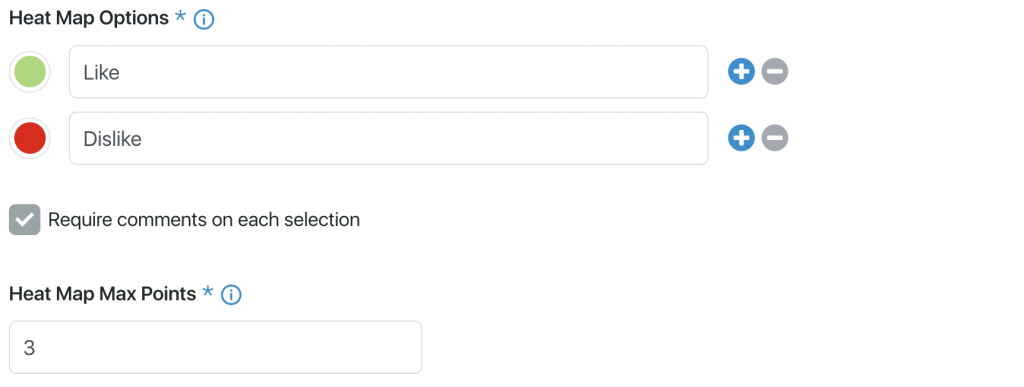
Heat Map Options:
You can add as many options as you like. In our screenshot below, we are utilizing green for likes and red for dislikes. We have also said the max amount of clicks to ‘3’ and are requiring the participant to leave a comment after each selection they make.
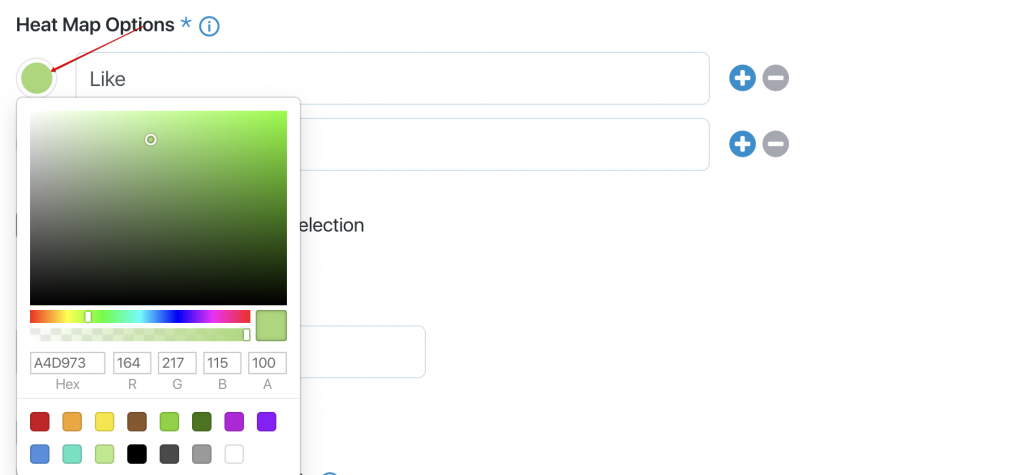
Depending on the color of your graphic, the colors may need to be changed. If you want to change the color of the answer option, click the colored bubble as shown below.
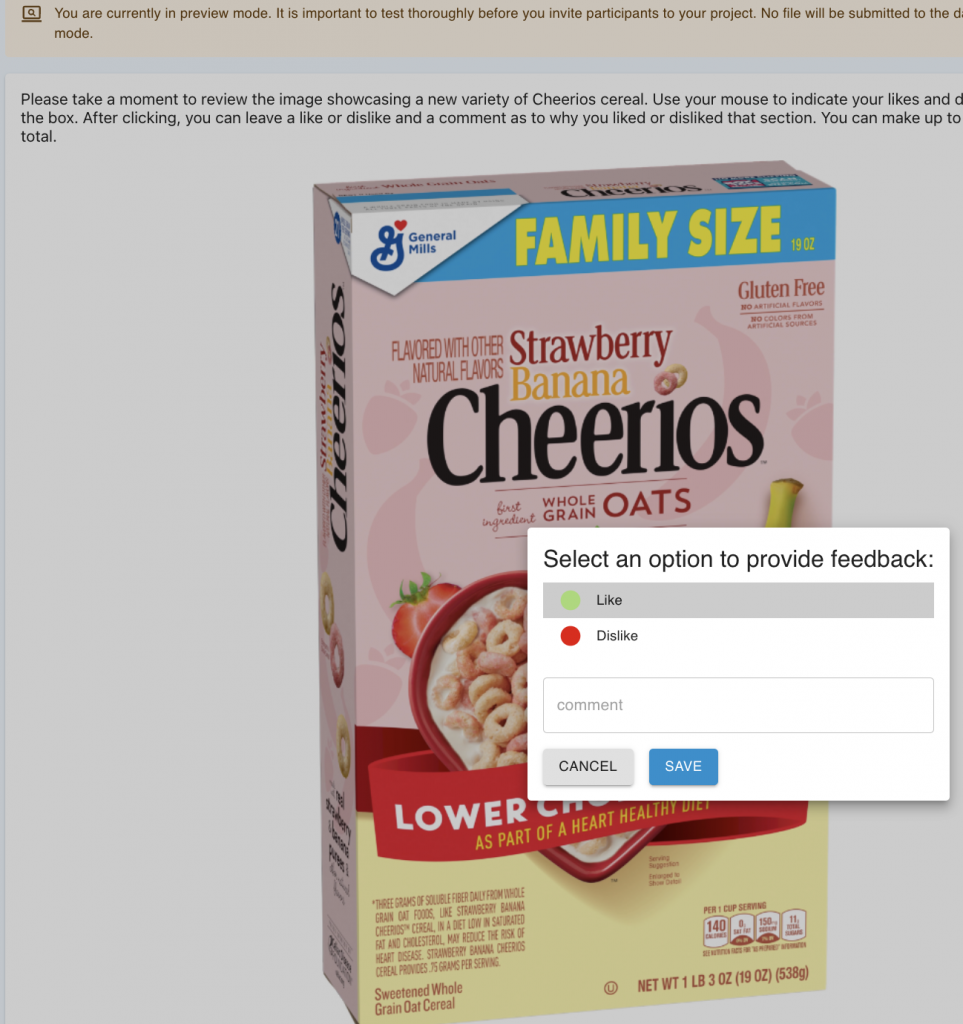
Previewing Your Heat Map
Once you save the task, you can preview it.

When in preview mode, you will see a message up top indicating you are in preview mode, and you will be able to click areas of your concept to leave feedback. In the screenshot below, you will know I am in preview mode based on the message at the top of the screen. You will see I clicked on an area of the box and selected “Like,” and can now leave a comment.
Scheduling Tasks
The Schedule Task field allows you to choose either a specific start date or an interval date to schedule tasks. The first option lets you control the exact date/time it will open for participants.
If you choose the Start Date option, the Date & Time displayed to participants is based on the moderator’s time zone who set up the task. To verify your time zone is set, click your avatar up top, then on the My Accounts tab (at the bottom) is the time zone assigned to your moderator ID. If you do not select a time zone, the system will default the Date & Time to the Eastern Standard time zone.
In a Survey, you can Notify respondent(s) via email about the task. Generally, this notification is unnecessary, as participants will have access to the active survey upon joining the project. Nonetheless, this feature becomes particularly handy if your study involves multiple surveys spread across several days.

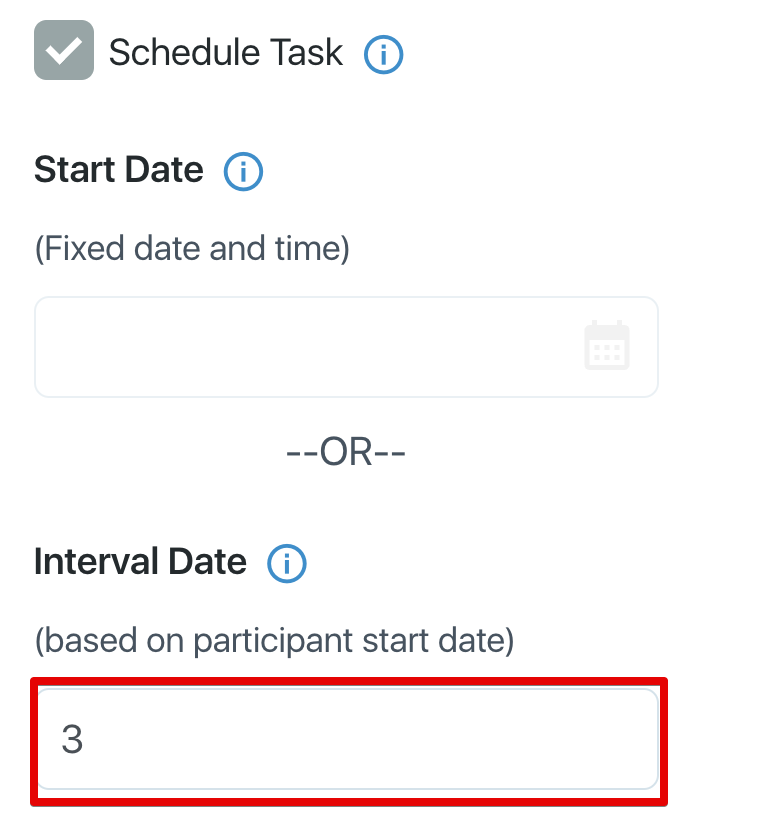
The Interval Date option allows you to specify how many days you want to wait before a task opens for each participant. You need to enter each participant’s start date field when you import a CSV file or add them manually to your project (you will see a column for this date in the sample CSV file). For example, if Dave’s participant start date is January 1 and the interval length is 3 days, the task will open on January 4. If you add Anne on January 5, the same task will open on January 8 for her. Once you invite participants, the Participant Start Date will appear on both the Project Management and Participant & User Management pages. This field is particularly useful for projects where you may invite additional people over a long period of time. This way, as you bring in new people, each task will unlock at the same interval length as past participants. You can also utilize this field on the Project Management page to get a quick read on which participants started one day vs ones that started after them.
In the screenshot below, ‘3’ days were selected for the Interval Date.
Please note: Participant Start date is an optional field. If you leave it blank, it will default to the current date for each participant. If you do not plan to schedule tasks this way, you can ignore this field on manual and CSV uploads; the system will assign today’s date for each participant.
In the screenshot below, you can click the date of each participant if you want to change the participant start date for them.

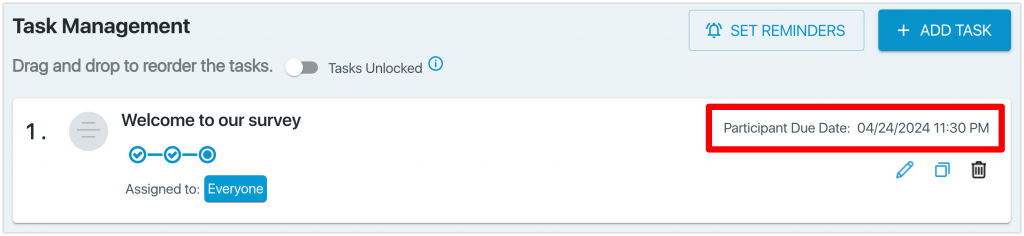
Once you schedule a task, the scheduled time will appear on the Task Management page.
Set Due Date
The Set Due Date field, shown below, is optional. It lets you choose a due date for the task. Participants can still complete the task after the due date, as long as your project is active. You can change the due date anytime, even when the project is live. To send automated reminders, you need to set a due date.
If you click on the Due Date button, you get a calendar where you can select a future date/time.

Set Reminders
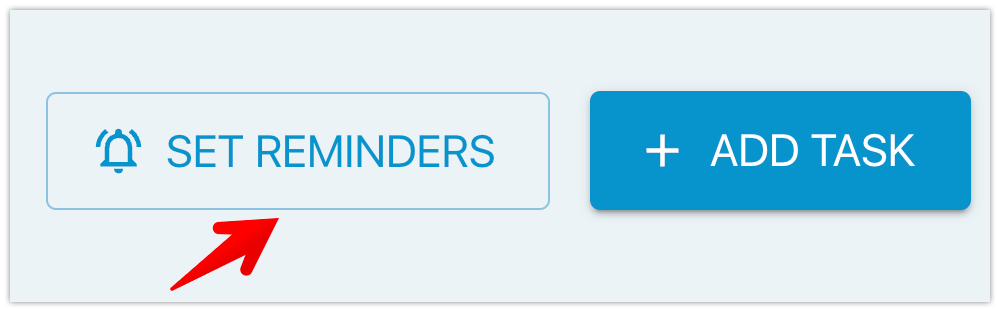
You can schedule automated reminders for your tasks by clicking the set reminders button at the top of the Task Management page. However, you need to set due dates for your tasks first. The previous section shows you how to do that. After you set a due date, you will see the tasks with due dates on this page, as shown below.
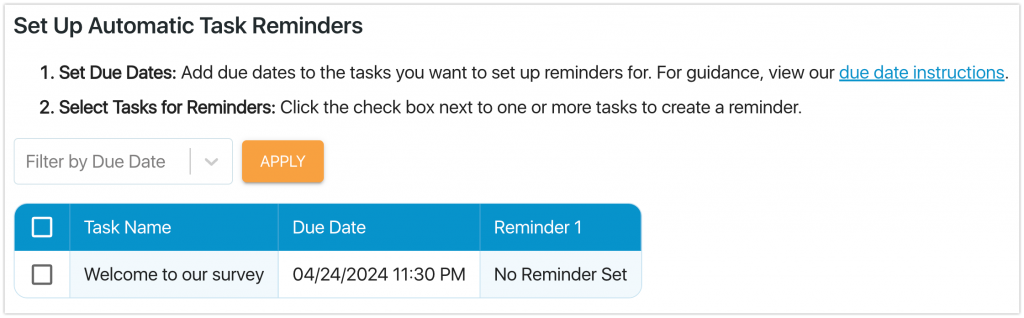
As shown in the screenshot, you can click on the survey that you want to receive automated reminders for. We suggest setting a reminder for two days before the due date.
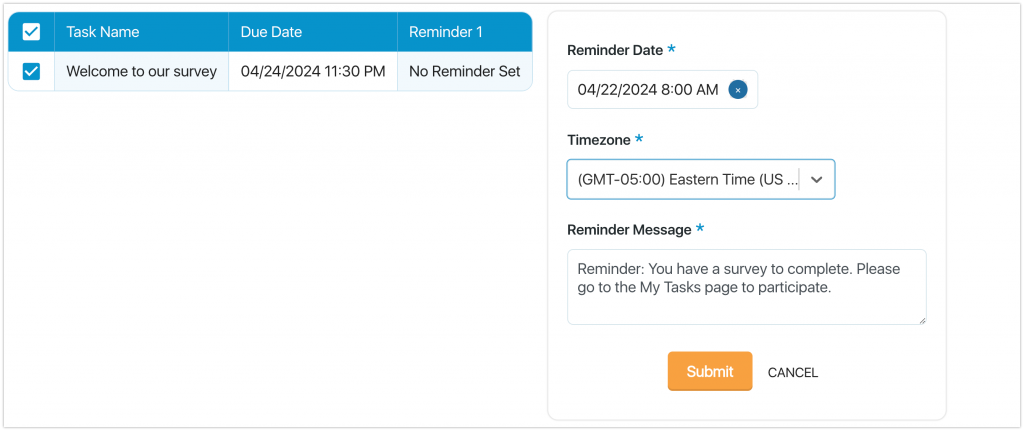
You can see in the screenshot how I selected the Welcome to our survey for my reminder. After you check the boxes, more options will appear below. You can choose the Reminder Date, the Timezone for the web notification and the Reminder Message. You can either use the default message or write your own. In my example, I set the reminder for two days before (what we recommend you use) the due date and picked the Eastern Time Zone for the notification.
After you set a reminder, you will see the date and time for it in the column. You can edit or delete it by clicking the pencil or trash icons. You can also set a second reminder for the same tasks, which will appear in a new column called Reminder 2, as shown below. The reminder will not trigger if the survey has been done. If you have multiple surveys with reminders, it will trigger if at least one of them is not done.

If you have scheduled a task for a Date/Time, you can decide if you want to send a notification to the user of this new task. Here is a breakdown of the two available:
Notify respondent(s) via in app/web notification of this task: A notification will be sent to both the mobile app and the desktop notification center of this task.
Notify respondent(s) via email of this task: This email will let the participant know they have a new task available to take on their laptop/desktop.
The Assigned to area is:

Everyone: When selected, all participants will be eligible for this task.
Individual: When selected, you can define who gets this task. You can select one or more people.
Segments: Segments allow you to show tasks to certain people in a project. Some moderators upload external participant (segments) data into a project before it begins and assign tasks based on a particular segment. E.g., If you uploaded a gender variable and an income variable, you might assign a task only to Males AND $100,000 income levels. Please remember, if you are going to assign tasks by segments and also use the bulk import CSV, you will need to make the segment name in Admin > External Participant Data and then assign the tasks to this field. You can then bulk upload the data for this External Participant CSV file. In essence, if you plan to assign tasks by segments, you will just name the segments manually on the External Participant Data page. Then you will import in the CSV file that assigns the options to the participants for this data. Please remember that adding Segments to a task is based on ‘and’ statements. For instance, if you select more than one segment for a task, the participant must fall into both segments to be shown the task. To manually create segments, go to Admin > External Participant Data, and you can manually add segments to participants.
You also can upload a CSV with participant data when you start a project. This can be found at Admin > Participant & User Management and then by clicking the ‘Bulk Member Import’ button. If you have never made a segment, we advise reading the help center topic on External Participant Data and bulk uploading participant data via a CSV file.
Example:
When you select Segments, they will be shown below if you have some. In this example, we have a ‘Gender’ and an ‘Income’ segment in the project.
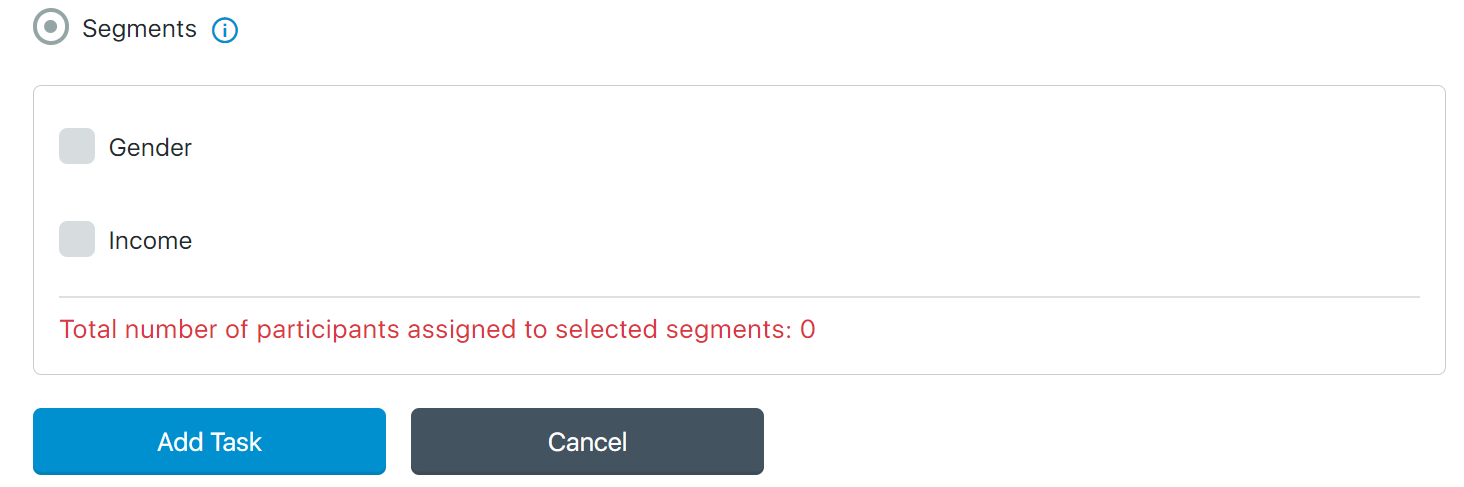
Since we have no selections so far, the red message above says we have 0 people assigned. Once we click Gender, we will get a drop-down to select from.
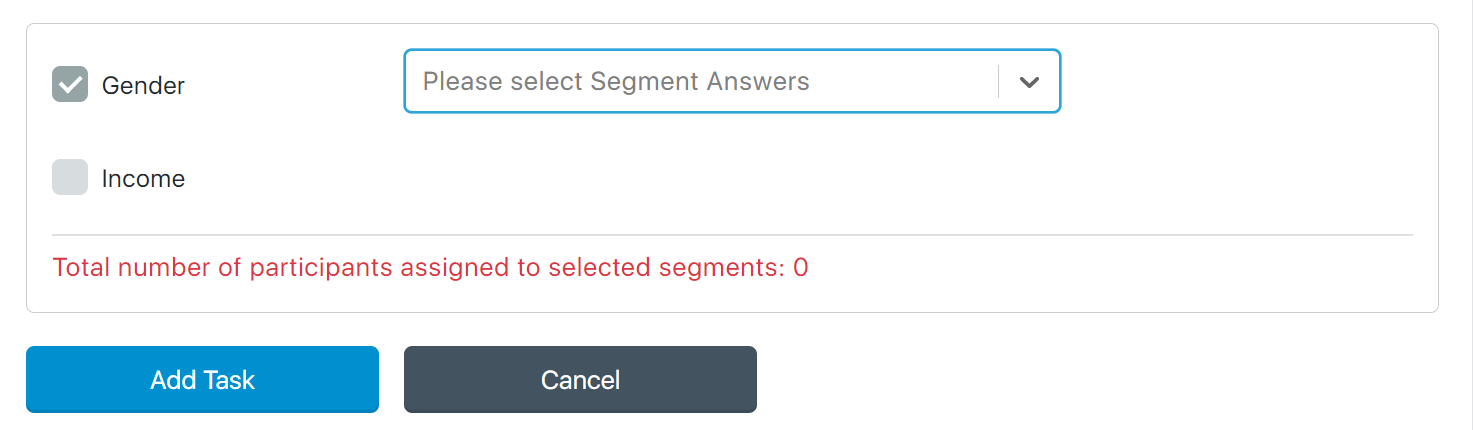
Once I select an option, in this case, ‘Male,’ I get the following:
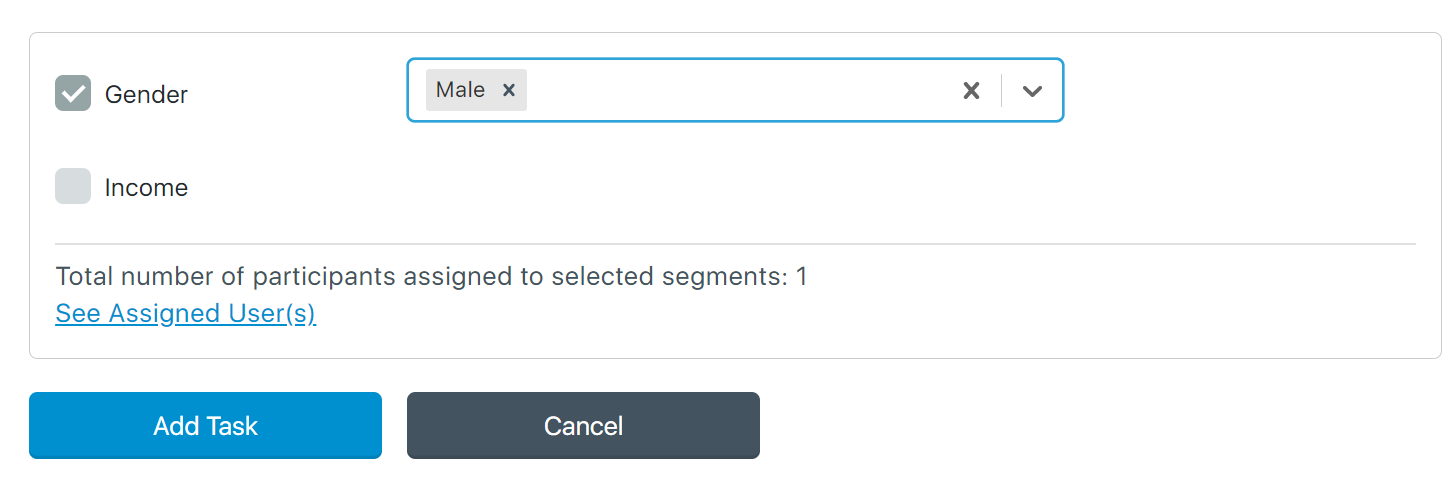
You will see it has ‘1’ user assigned in the above. If you click ‘See Assigned User(s), you see who is a part of this segment.
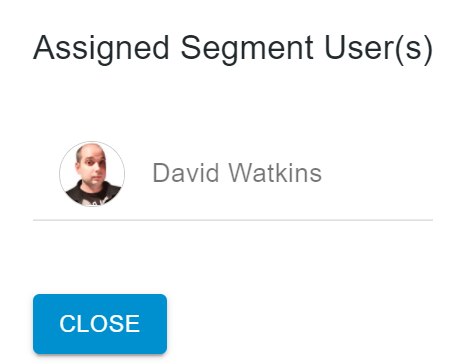
Only David Watkins will be assigned to this task if you click Add Task. You will then see it is marked on the task page like the one below, where it shows you the name of the Segments in that task and how many people are a part of it.
On the task list page, you will then see this, indicating you have a Segment and one person assigned.

Locking Tasks
After creating all your tasks, we recommend you click the toggle button at the top of the Task Management page and turn it on. Once on, it will say: Tasks Locked and look like the below:

When the toggle is on, you will not be able to edit, copy, or delete tasks, and your coworkers, who are managers in the project, will not be able to either. You will also be unable to drag and drop the tasks into a different order. However, you will still be able to create new tasks. It is recommended that you lock the tasks after you have made them. That way, you will not have any situations where the order of a task is changed, a task is accidentally copied, etc. If a project is live and a task is moved, copied, or deleted, it will automatically reflect that change to the participant. That is why it is best to use this feature. If you need to change, you or another moderator in your project can click the toggle button again to turn it off. You will then be able to edit, delete, copy, or rearrange the order of the tasks.
