You have the option to create one or more group chats to collect feedback in a group setting. Participants can now engage in text-based conversations, share images and videos, and provide feedback while reading others’ replies and opinions. It is crucial to moderate the group chat appropriately, as participants can respond and see each other’s replies.
To start a group chat, click the Create New Group button. Enter a group name and a group description, both of which the participants will see. Here is an example of one for a new product we want to show in group form.
Group Name: Product Feedback for Concept 1
Group Description: Pepsi is excited to announce a potential new addition to its Pepsi Max line, and we need your input! We’d love to hear your thoughts on this innovative concept. Please share what you enjoy and what you think could be improved about this new product.
Once you create the chat, you will see this:
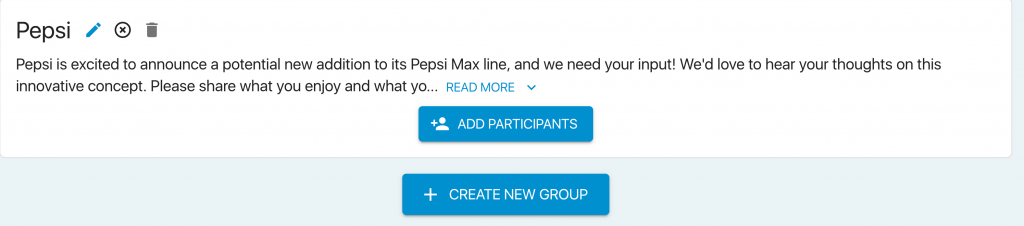
Pencil: This option lets you edit the name and description of the group.
Circular X: This allows you to close the group chat, once you close it, you will not be able to reopen it.
Trash can: This will permanently delete the group chat. All data will be removed and cannot be recovered once deleted.
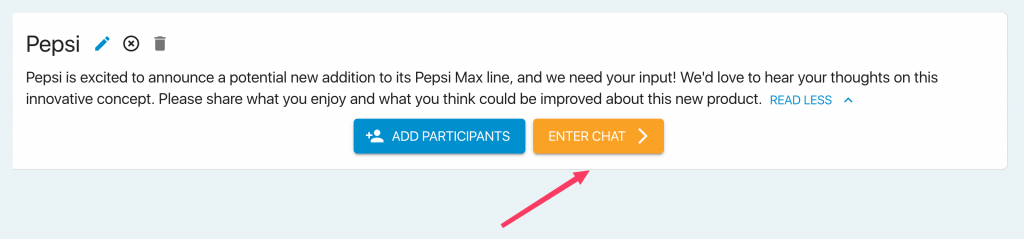
When you are ready to invite participants, click the Add Participants button. The dropdown menu will display everyone who has been invited as a participant to the project. Select the participants you want to invite, and then click the Submit button. Once you invite one or more people, an Enter Chat icon will appear in orange, as shown below:
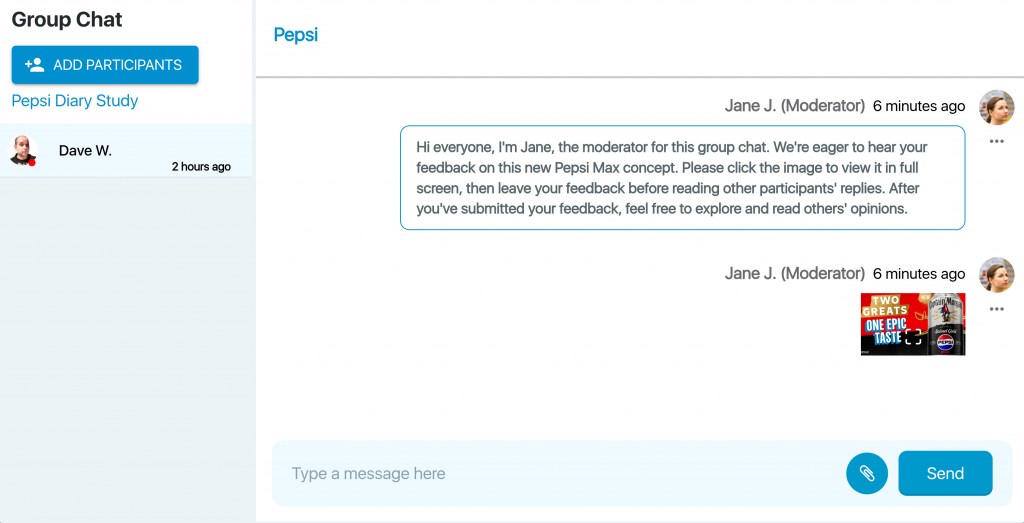
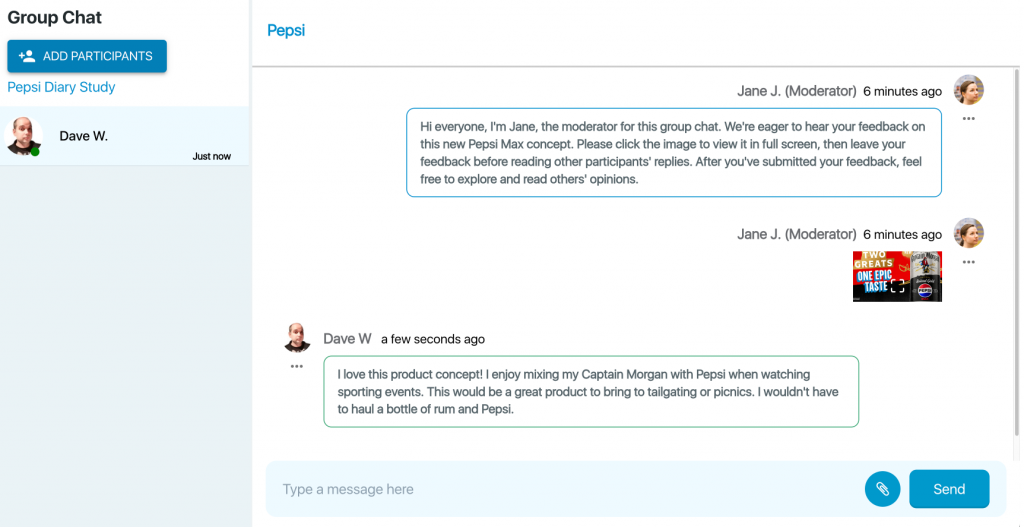
On the left side, you’ll find the list of invited participants (only one this example but you can have as many as you wish). On the right side, you’ll see the ongoing dialogue, along with any shared pictures or videos.