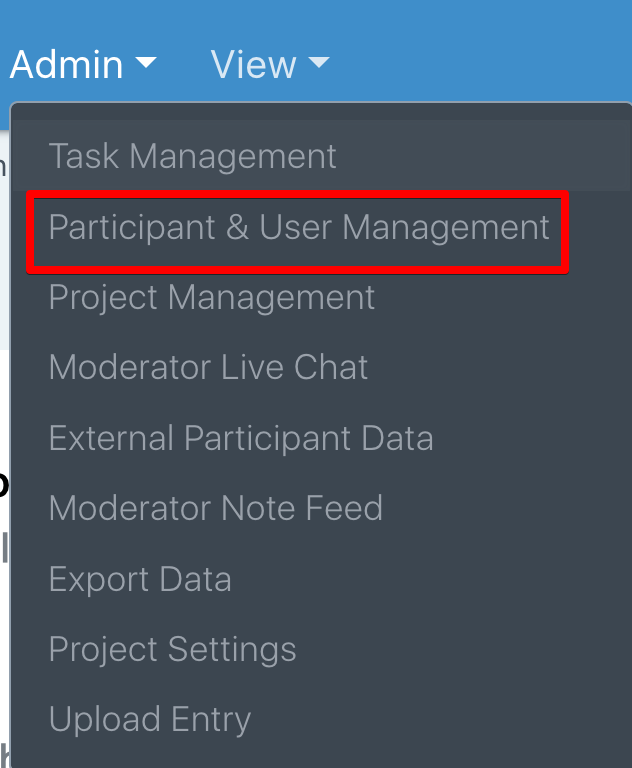
The Participant & User Management area is where you can add Participants, Managers, and Viewers to your project. It can be accessed within the Admin drop down in the top navigation.
You can add Managers, Participants, and Viewers individually or via a bulk import. The roles are defined as:
Managers: The researchers will be interacting with participants, assigning tasks, reviewing entries, and probing for additional clarification on entries submitted by participants.
Participants: The people who will be taking part in your project.
Viewers: These are people that you want to have view-only access to the project and only have access to certain pages of the back end.
Recruit Participants: This allows you to recruit consumers and B2B participants from many countries to participate in your project. More information about recruit can be seen here: https://helpcenter.ethosapp.com/recruiting-participants/
The first time you visit the page, you will see the below. In the example below, no Participants or Viewers have been invited to the project yet. Under the Managers column, you will see David Watkins (Owner), which signifies David Watkins is the only manager on this project, and he also is the one who created it (Owner).
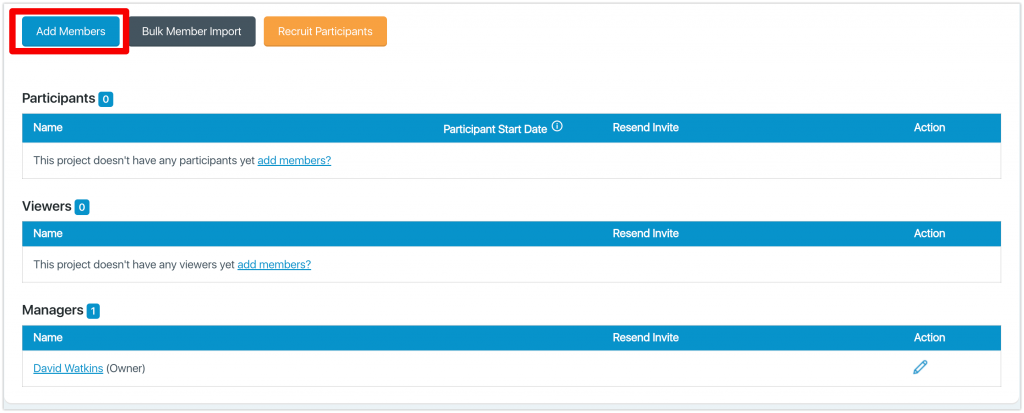
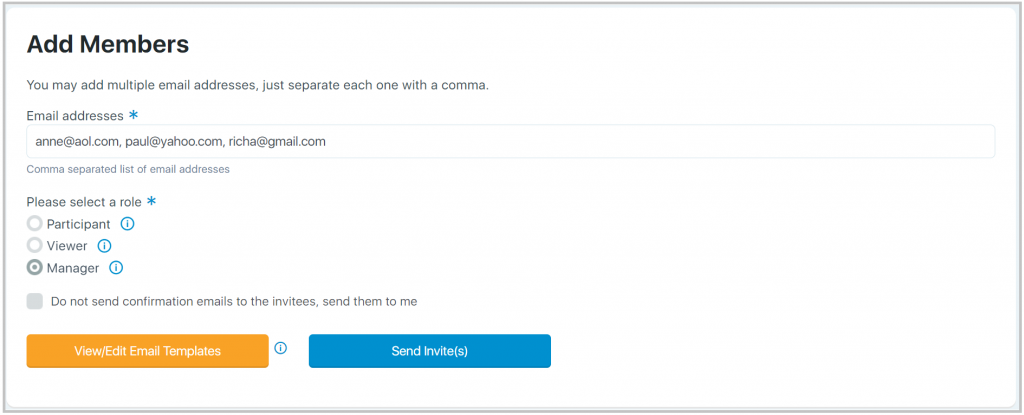
To add people manually, click the ‘Add Members’ button above. Upon clicking, you will see the following page:
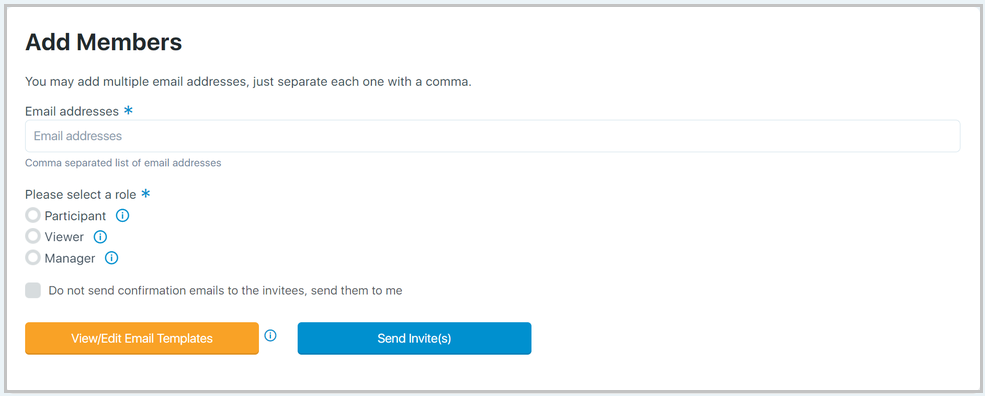
Before adding the members’ email addresses, if you want to edit portions of the email template for Participants, Viewers, or Managers, you can do so by clicking the ‘View/Edit Email Templates’ button. When clicked, you will see six tabs, two for each type of user.

The tab labeled ‘New Participant’ will be sent to any person who has never been invited to an EthOS project before (if another client has invited this user in the past, they would be considered an Existing Participant). An auto-generated password will be emailed to the user on New Participant, New Viewer, and New Manager emails. The user can then log in and change the password. Any past user (Existing) will get an email that welcomes them to the new project. They, of course, can do a forgot password if they no longer remember the password they used for EthOS in the past.
The toggle labeled
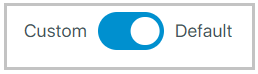
allows you to build your Custom template if you wish. When it is in BLUE, the default template is used, and when it is,
you are in custom mode. When in Custom mode, certain areas of the templates will be editable. They are marked with an icon (arrows point to them below). When clicked, you see that area open where you can edit or add text.
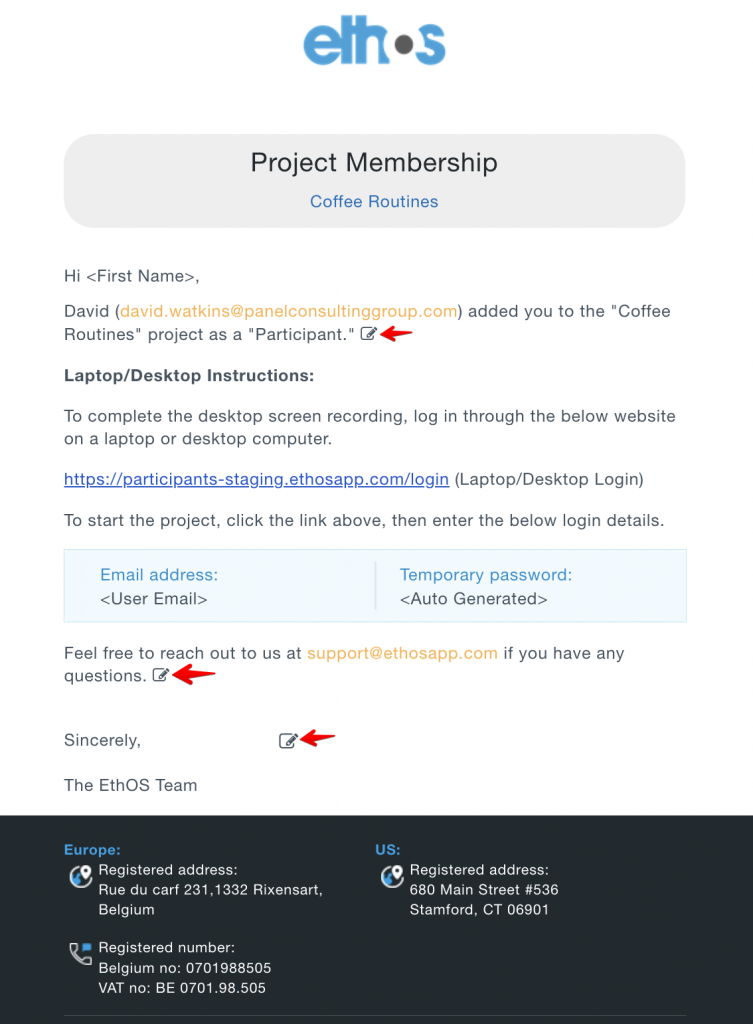
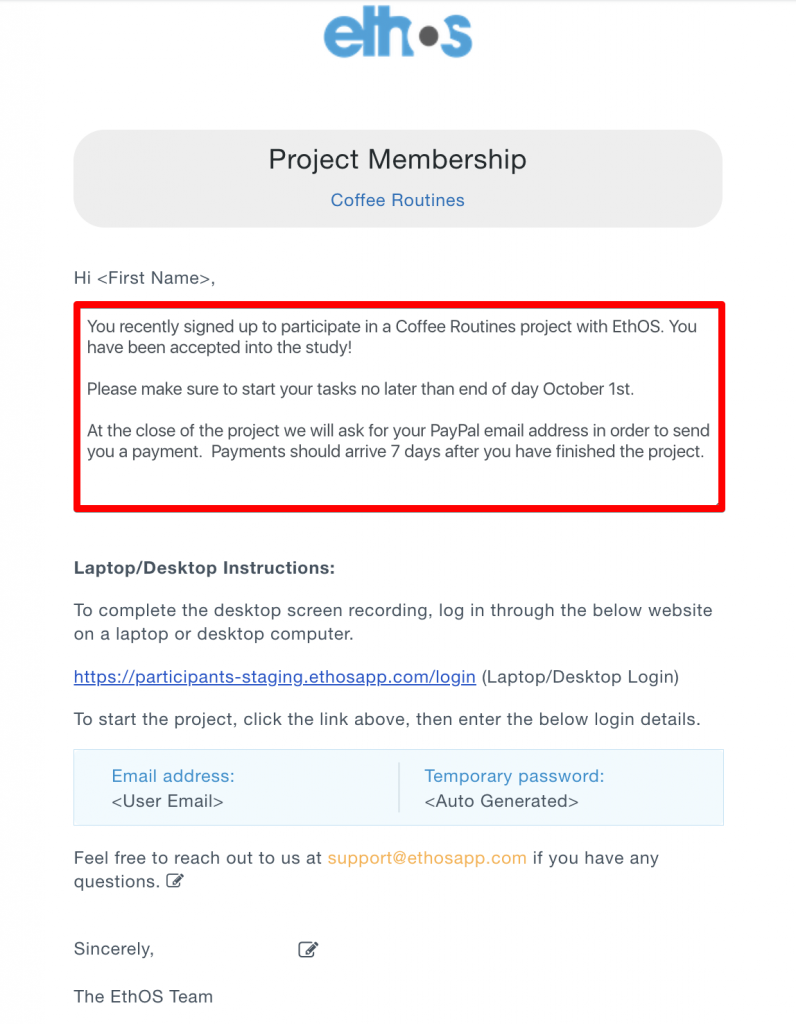
Here is an example of the text being edited.
After you edit the text, at the bottom, you will see three buttons:
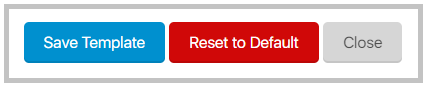
Save Template: This will save changes to your custom template
Reset Template: This will reset the template to the default system template
Close: This will close out the template.
When you click the Save Template button, it will save all templates. If you change the wording on 4 of the six templates, it will save all 4 of your templates. If you decide to invite additional people to the project later, then your templates will be available to use again, or you can use the default template.
The next step is to add email addresses. First, you will type out the email addresses (separated by commas if you have more than one). In the screenshot below, three participants are being added. The next step is to click Send Invite(s). You can only add one role at a time, so if you want to add Viewers or Managers, you would return to this page and do those next.
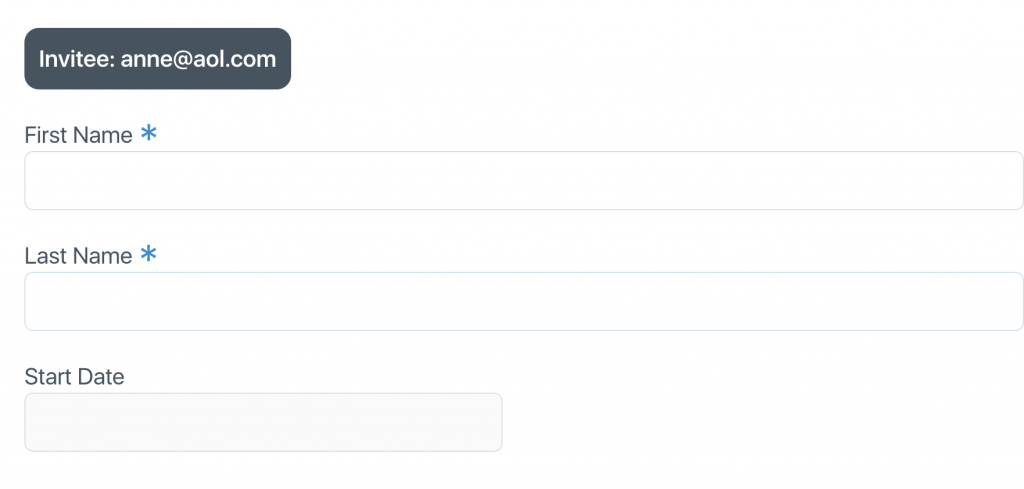
On the next page, if the person has never been on the EthOS platform, you must enter the First & Last Name, but the Participant Start Date is optional. The Participant Start date is used if you use the Interval date functionality of scheduled tasks; if not, you can ignore this field, and the system will auto-assign today’s date for this participant. If they have used EthOS in the past, you will not see this page.
After you click Save and Finish, you will be taken back to the prior page and see a green message.

The Hide Project functionality allows you to hide the project from the participant in the mobile apps. As soon as you check the box, this feature is enabled, and the person will be logged out of the mobile app and can no longer access your project. On this page, you will still see the participant and the submitted entries for this participant on the dashboard and other relevant pages of this project. A hidden user will automatically be excluded from future tasks, and you cannot select the user on the project management page to send a message, add to a task, add to a workspace, or individually export. If you have marked a user as hidden, you can remove this feature by removing the check in the box.
Once you check the box, the person is automatically hidden in the screenshot below.

Why would I want to hide participants?
- You may have a participant who answered the first two days of questions and then disappeared. Since your study requires a person to upload daily, you must remove them from the project. If you delete the participant from this page, you will also delete all entries for this person, and they may have given some valuable feedback that you want to keep. In this case, you would use this functionality.
- You have a longitudinal study and are refreshing the people in the project over six months. Each person participates for 30 days, and then you bring in a new set of people. In this case, you would use this feature to avoid this person accessing the project after 30 days.

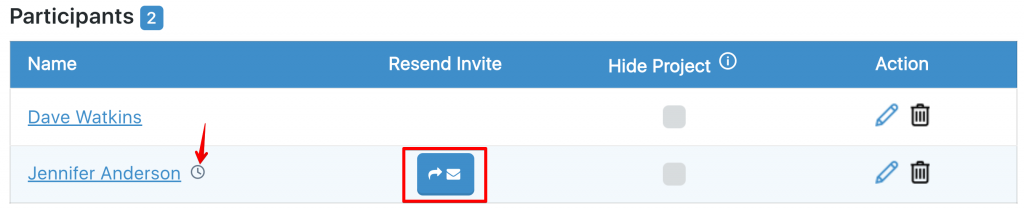
A clock icon will be next to their name if a participant has not logged in. You also have the option of clicking the mail icon under the Resend Invite header to send them a second invitation. If a second invitation is sent, it will generate a new password for the participant on the email sent.
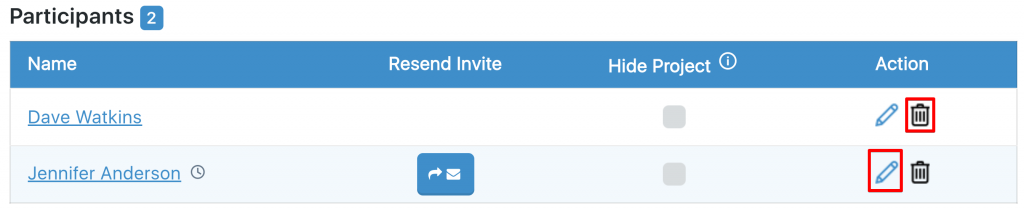
If you want to remove the person from the project, click the recycle can to remove them. You can also update the First/Last email address of a participant by clicking the pencil icon.
When you edit a person, you will get the below dialogue box, where you can change the name or email address. If you click the dialogue box and make it blue (like shown below), this will send an email to the person’s prior email address to let them know of the change. For instance, if the person’s email was dave388@aol.com and you changed it to davewatkins@gmail.com, if you clicked this dialogue box, an email would go to dave388@aol.com, letting them know of this change.
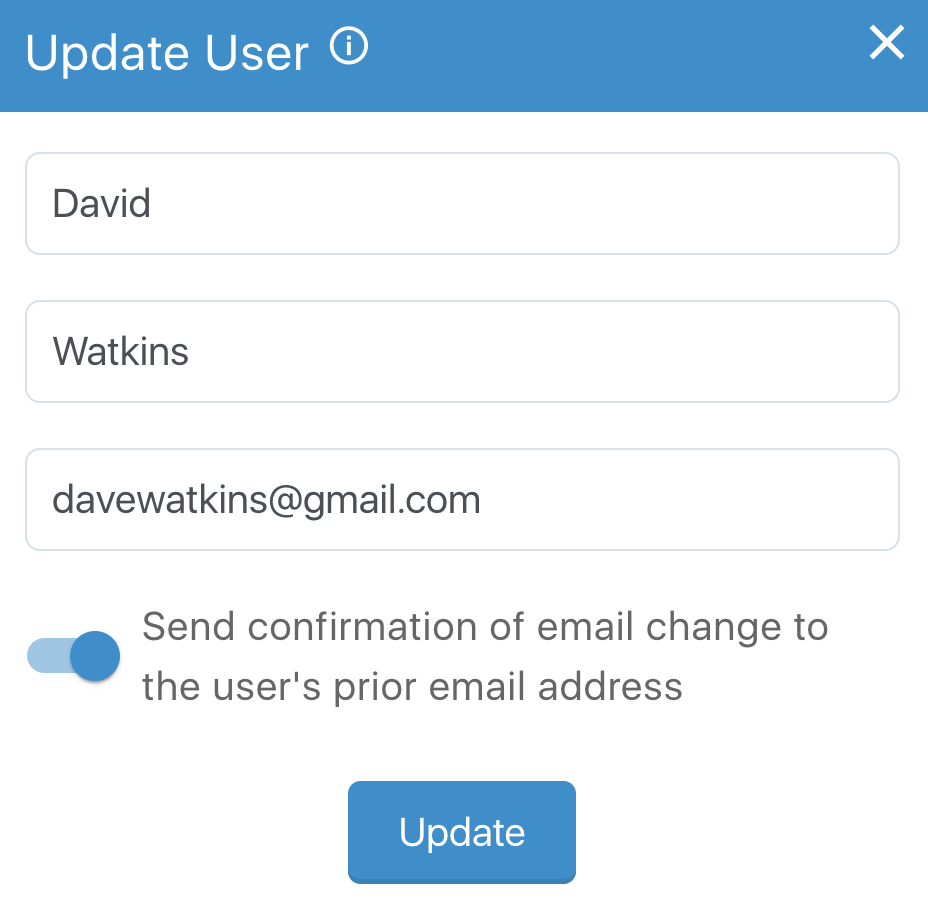
PLEASE NOTE: If you change a person’s name or email address, it will change across all projects a person is in.
You may also click in the Participant Start date area if you want to edit a person’s participant start date. If you are not scheduling participants using the interval date functionality when creating a task, you can simply ignore this field.

Participants: If you delete a participant (click the trash icon in the Actions column), all of their entries will be removed from the project, but if they were a workspace member, their probe and group chat comments will remain.
Managers: If you delete a manager, they will lose access to the project, but their notes and probes will remain.
Bulk Member Upload
The other way to invite participants, managers, and viewers to a project is by filling out a CSV template that will import everyone into your project. You can do so by clicking the Bulk Member Import Button:

On this page, you would click the button that says Download Sample CSV and a CSV file would download to your computer.
The file you downloaded will have a filled-out sheet for respondents.
Sample Bulk Import File

The CSV template lets you add participants, viewers, and managers to your project in bulk.
Please fill in the following mandatory fields: First Name, Last Name, Email, and Role. If these fields are empty, your file will not upload successfully.
The ‘Participant Start Date’ field works in conjunction with the ‘Interval Date’ field, accessible through the ‘Schedule Task’ option during task creation. The ‘Interval Date’ allows you to set the number of days to delay a task before it becomes available to each participant. Interval dates are particularly helpful if participants will begin a study on different dates. You must enter each participant’s start date when you import a CSV file or add them manually to your project on the ‘Participant & User Management’ page (Make sure to use the format MM/DD/YYYY). You can ignore this field if you are not scheduling tasks by the Interval date. The system will auto-populate today’s date for this field if it’s not being used.
Here’s an example of how interval dates work: if participant Dave’s start date is January 1 and the interval length is 3 days, the task will open on January 4. If you add Anne on January 5, the same task will open on January 8 for her.
The image above shows a sample participant import file with the following columns: First Name, Last Name, Email, Role, Participant Start Date, Gender, Age, and Income. These columns will be loaded into the system when you import the file. You can also include additional data points in the remaining columns (such as Ethnicity, and other screener or background data). Just make sure to label the column header (e.g., Column I) and fill in the values. After importing, you can access the data points in the External Participant Data section of the Admin dropdown. Note that we only entered Gender, Age, and Income for the Participants, not for the Manager or Viewer, since they are not completing tasks. Once you complete the template, click the “Choose File” button and select the file from your computer. Below the choose file button, you can check the box:

By selecting this option, you will receive all the invitations to your email address instead of them going directly to participants and other users. This allows you to distribute the invitations manually.
Once you have imported your CSV, click Send Invite(s) to begin uploading. This will automatically add participants, viewers, and managers to the project and generate automated email invitations with their login details.

Please note: User data is tied to their email address. Once a person’s first and last names are in the system, you can’t change these via bulk upload for security reasons. For instance, if participant David Watkins was in the EthOS platform in the past (by another researcher or if you have already bulk uploaded them), and you try to upload him into your project as Dave Watkins, he will continue to show up as David Watkins since that was the prior used name. Participants can change their First Name or Last Name in the apps at any point, which will update in your project.
Please note: If you upload people a second time to change data, they will automatically get an email from EthOS inviting them to the project a second time. In this situation, it may be best for you to click the box “Do not send invitation emails to the invitees, send them to me” That way, you get the second set of invitations, and you can just delete them from your inbox.