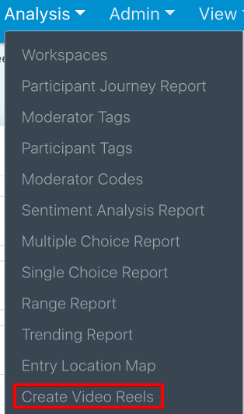
To create a video reel, access the Analysis dropdown in the top navigation.
You now have the option to decide which Pictures and Videos you want to include in your video reel. By default, the project’s first task will be selected, and the media files shown will be from that first task.
In this example, only task 1 is shown, “Tell us a little bit about yourself,” which has two entries available.
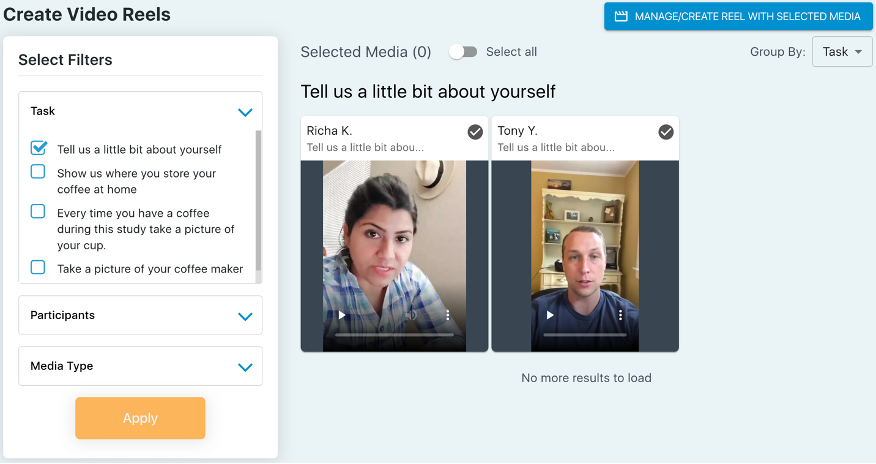
You can include additional tasks by clicking Task on the left side of the screen and running other filters to decide which media to select.
Please Note: Once you select your media, you will not be able to change it when you’re in the actual reel interface (after you click Manage/Create Reel with Selected Media). So, ensure to include which media you plan to use for your reel before getting started.
Once you have selected the necessary filters, you will want to do one of the following:
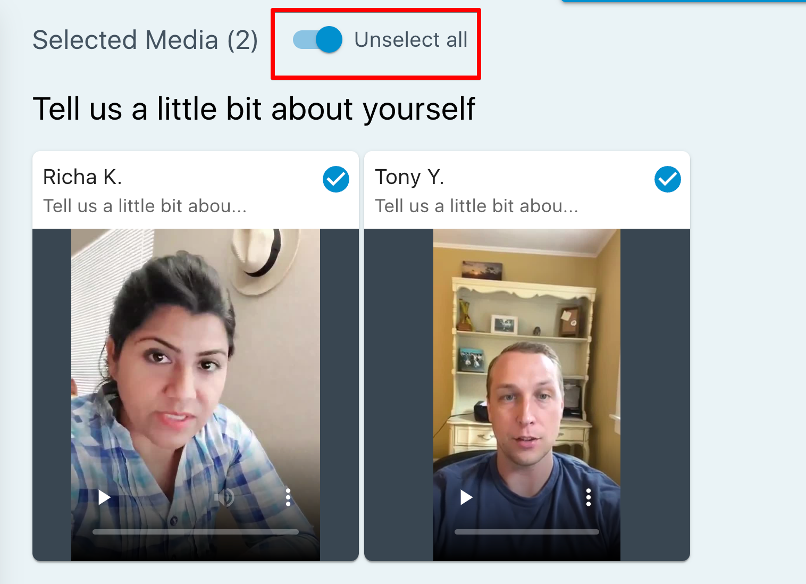
- Click Select all at the top of the page to make all the media from the filters available in the Video Reel editor. You will not have to use all the files in your reel, but they will all be available to use.
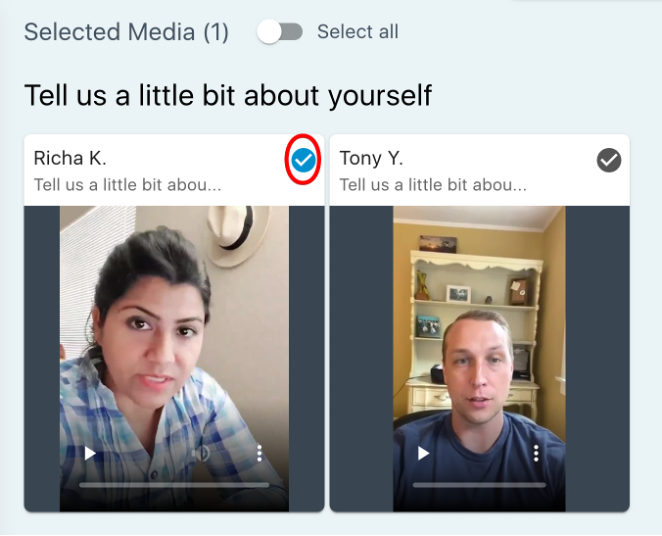
2. Click the check box on each tile to include it as an option when building out your reel.
When you are ready to create the reel, click the MANAGE/CREATE REEL WITH SELECTED MEDIA button in the top right corner.

Building your Reel
You will now be taken to a page where you can select a template to use, and we recommend you use one of the first two templates that are labeled:
- Research Results Reel #1
- Research Results Reel #2
You can view the templates by hovering over them and by clicking preview.
Click Select to choose a template for your reel.
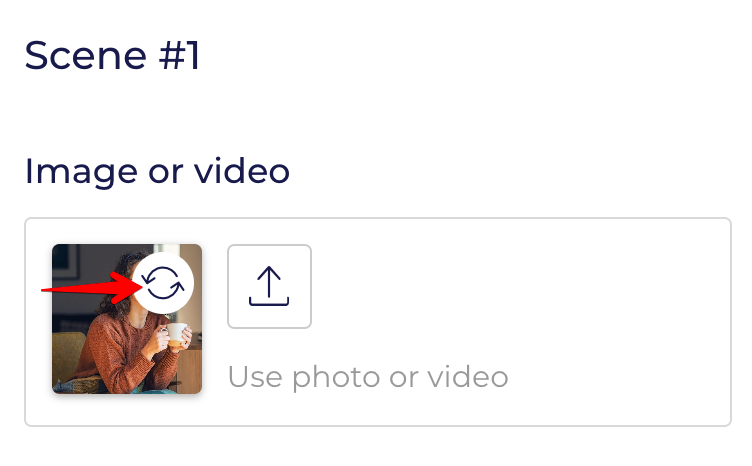
Once you enter a template, you will have many options to customize your reel. By default, you will be on the first Scene (which looks like a PowerPoint slide), and reels are made up of a series of Scenes. If you click the graphic on the left side of the Scene, you can change it to a picture/video that you brought in from your EthOS project.
Naming your Project
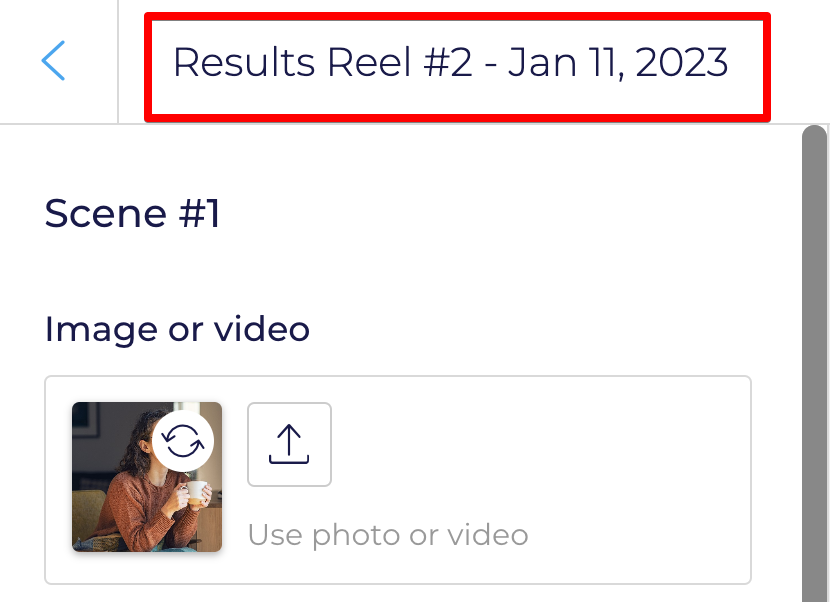
On the top of the screen, you will see the template name. The project name is the template name below, which is “Results Reel #2 – Jan 11, 2023”. If you would like to change the name, click in this area and change the name.
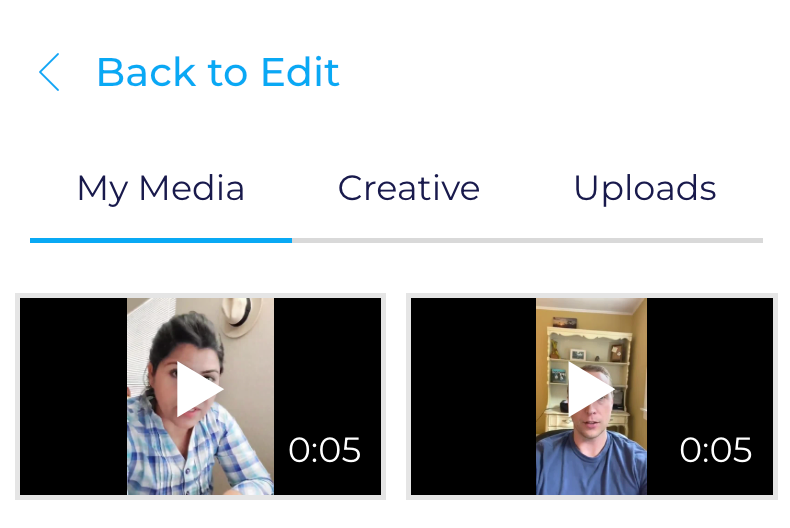
Upon clicking the button, you will have access to the media you imported from the project, as shown below.
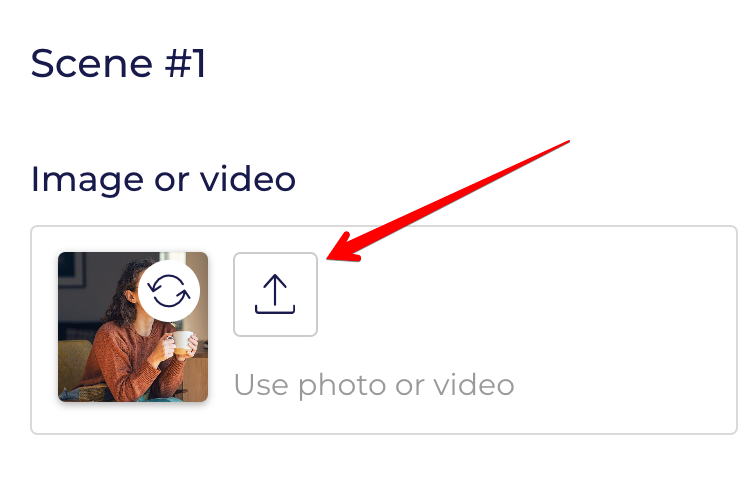
If you have additional media that you want to bring in from Dropbox, your computer, etc., you can also do so by clicking this icon:
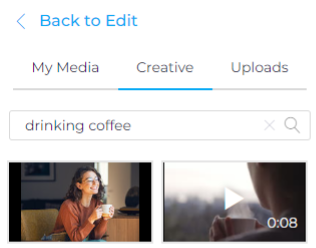
There is also a wide selection of stock images and videos that you can use in your reels by selecting Creative to the right of My Media
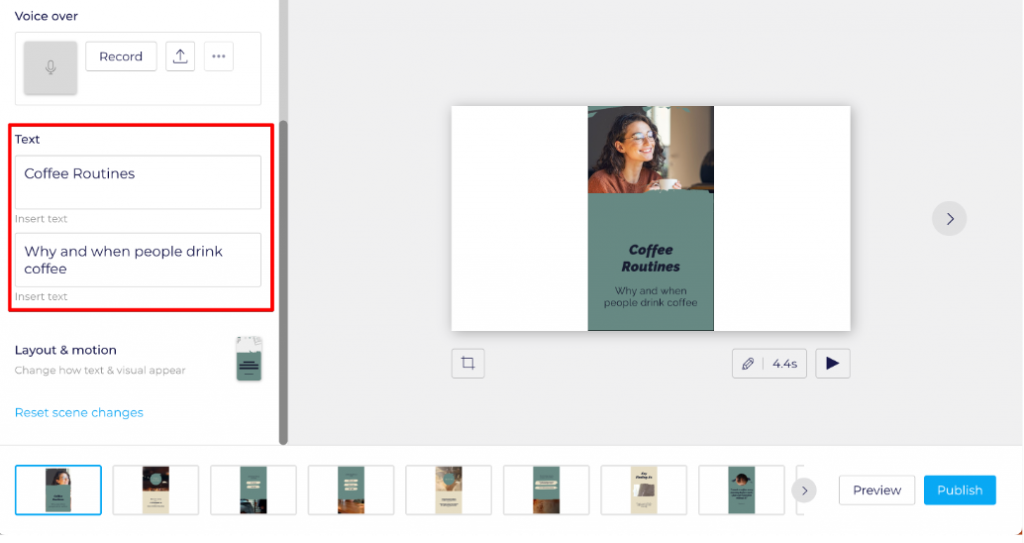
Editing the Title & Text
If you want to edit the Title or subtitle, click the boxes below, and they will update in real-time.
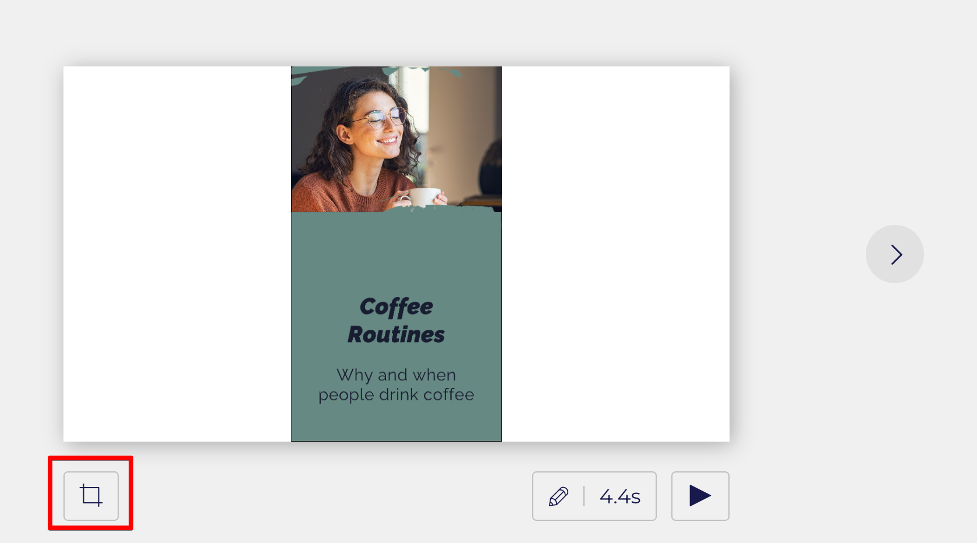
Trimming your Picture or Video
If you want to trim a picture or video, you click this icon below.
Page Time & Preview
If you would like to change the number of seconds a scene in the reel goes on for, click the pencil icon (this one is set to 4.4 seconds). You can also preview this part of the reel by clicking the play button to the right of the seconds.

If you want to move on, you can click the arrow circled or click the next scene in the timeline at the bottom of the page.

You can choose a new scene to edit by selecting a thumbnail below the current scene.

At the top of the page, we have some additional options: Adding voice-over, Video Style, and Music.
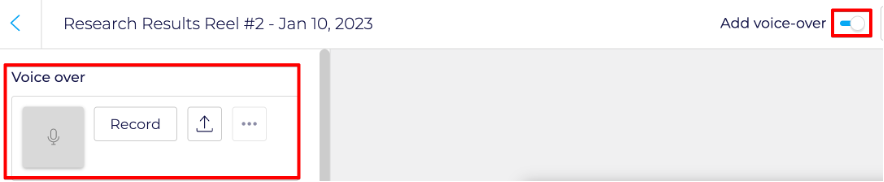
Voice Over
If you want to use voice-over, you will toggle the box up top to on, as shown below, and then you will see the Record area for you to record.
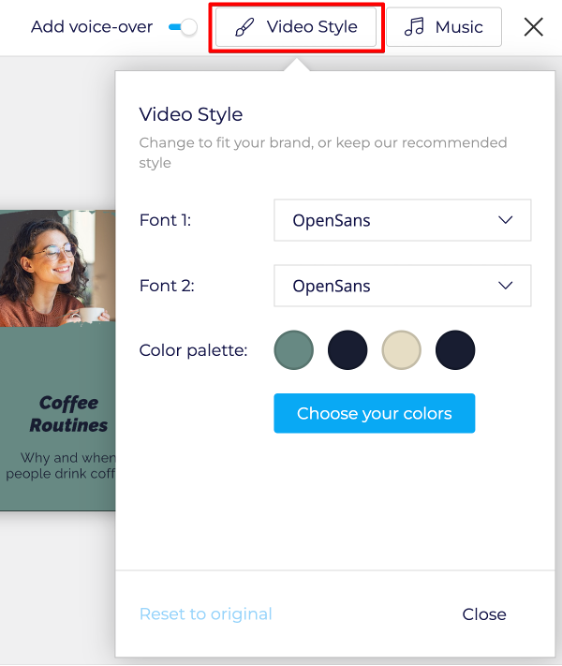
Video Style and Color Palette
If you want to change the video style or color palette, you can do so by clicking the video style button.
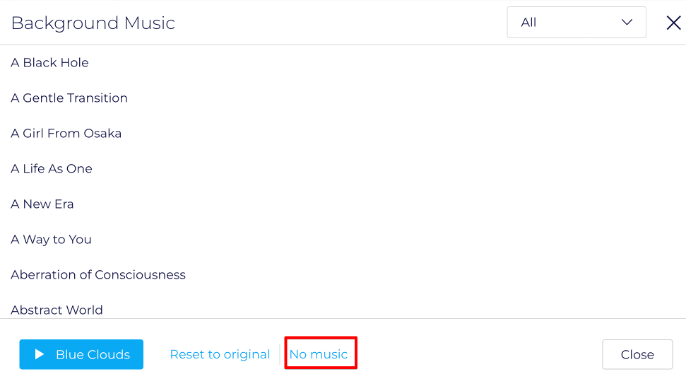
Background Music
In most situations, you will be building a reel that includes videos of your participants speaking, so you will most likely want to turn this option to “No Music.” however, there is a large catalog of background music you can select from, and add to your reel if needed.
Adding, Copying & Deleting Scenes
If you want to Copy or Delete a scene, hover over its thumbnail at the bottom until there’s a blue border, then click the 3 horizontal dots that appear. In that menu, you will be able to copy or delete the scene.

If you want to add a scene, you can click the square with the plus icon
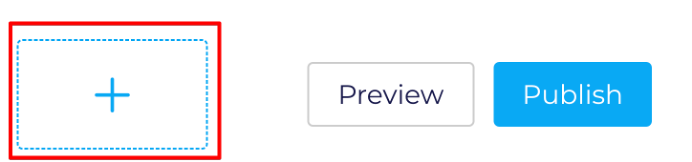
Previewing & Publishing
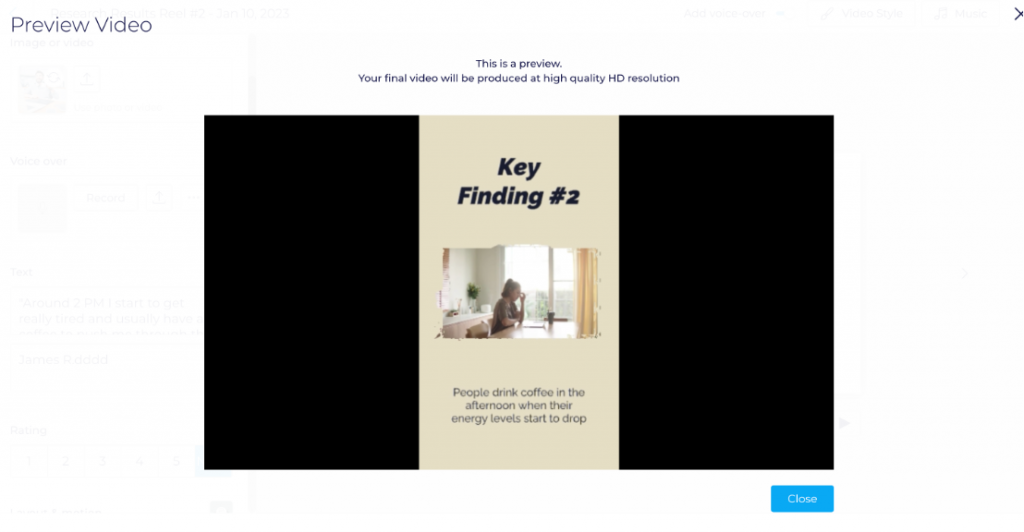
When you are done with your changes, click the Preview button at the bottom to preview your reel.
It may take a minute or two to generate a preview, and you will see this screen as it generates:
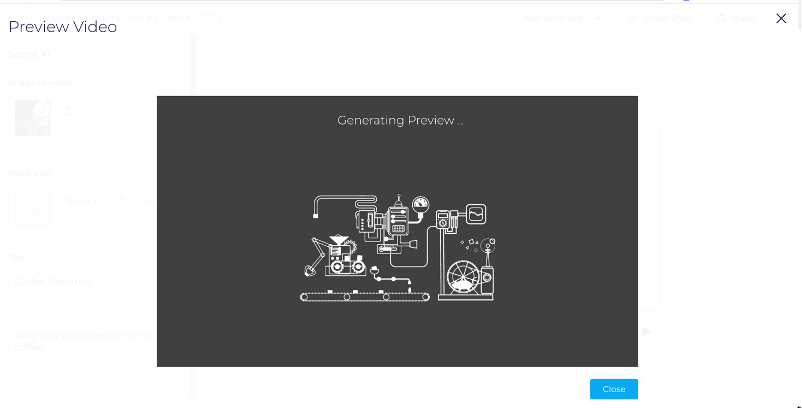
The preview will not be as high quality as the published version.
When ready, click Publish. It may take several minutes before the video is ready. You will see this screen while you wait.
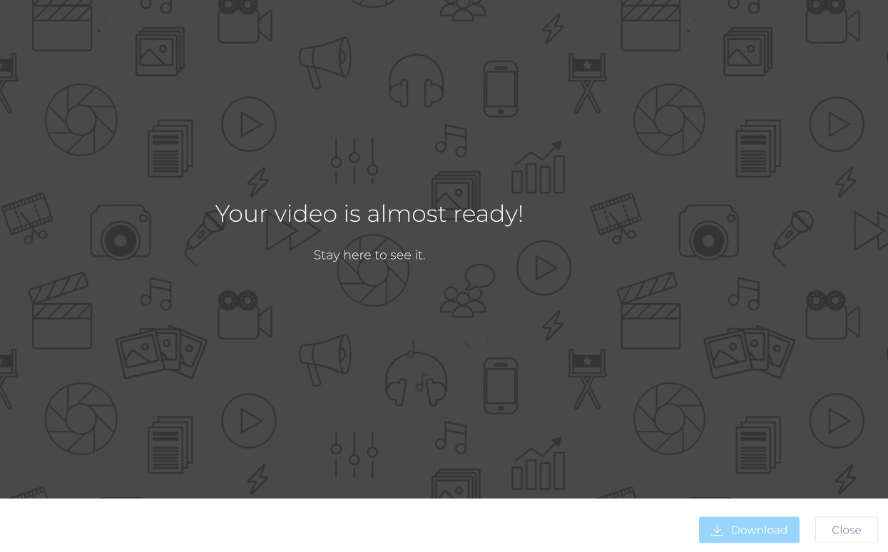
When it’s done, it will start playing for you, and you will have a download and close button at the bottom of your screen.
After you hit Close, you will be taken back into EthOS. If you want to see the video or download it again, you can click the My Videos button, which is located on the page where you initially picked the template.

In your video, you have a few options. If you mouse over, you will get the 3 vertical dots with the below options.
- Make a copy
- Copy Link
- Delete
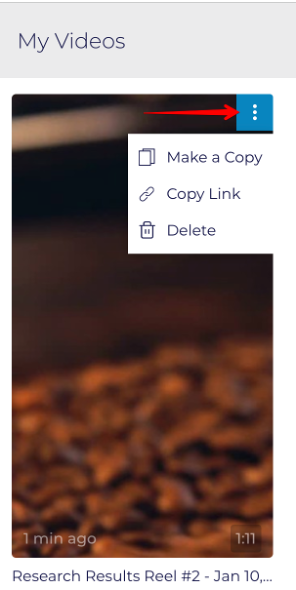
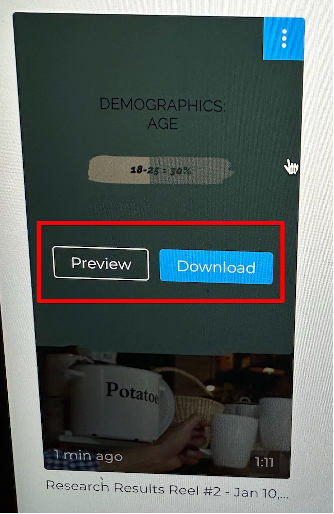
You will also get a Preview & Download box if you click your mouse on this.
Making Additional Changes
If you decide you want to make additional changes, you will NOT be able to do so with the existing video you made. You would click the “Make a Copy” option as mentioned above and edit the copy.