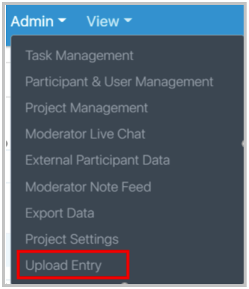
The Upload Entry page can be accessed through the Admin dropdown within the top navigation.
This page allows the moderator to upload entries to a project manually. It is often used in areas where people have poor internet connections, have firewalls blocking access to our apps, or a participant has some visual impairment that doesn’t allow them to use the EthOS mobile applications. Occasionally, a participant will complain that a file is not going through correctly in the app, in which case they can email you the file, and you can upload it directly to the dashboard. To upload media for a particular participant, you must invite the person to the project via the Participant & User management page. All areas with a blue star (on this page)are mandatory fields and must be completed to submit the entry to the dashboard.
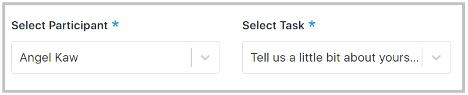
Step 1:
When you get to this page, you will select the participant from the first drop-down, and then to the right. You will select the task you want to upload a file to.
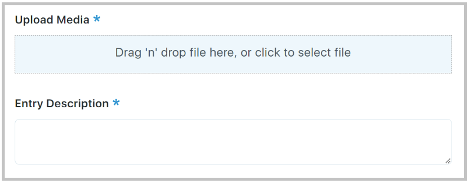
Step 2:
Depending on the task, you may need to upload a media file. In this task, the participant is required to upload a video. In the upload media, click to select the file from your computer. The second field of ‘Entry Description’ is the field in the app that you fill out after you upload a file. It is used to describe the file.
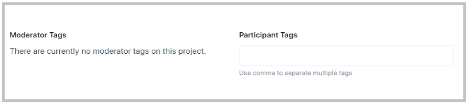
Step 3:
Both fields in step 3 are optional. In the screenshot below, the moderator has not assigned any moderator tags to the project, so no moderator tags are selectable for this entry. The participant Tags are tags that a participant can pick of their choosing when uploading an entry.
Step 4:
The Entry Date & Time selection allows you to place the entry at a time of your choosing. For instance, maybe the participant took the video 3 days ago, and you want to ensure it is placed in the dashboard on that date and time. If you do not choose a date & time, the entry will be set as the most recent entry in the dashboard at the current date and time.
The Participant Timezone field allows you to select from a list of time zones. If you know the participant’s time zone, then select it, and the entry in the dashboard will show the current time of this upload in that participant’s time zone. If you do not know, leave it blank, and this entry will default to Eastern Standard Time.

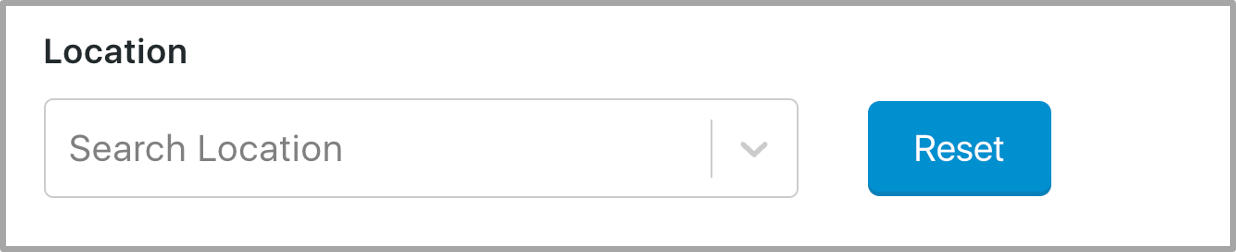
Step 5:
The Location field is both optional. If you know the participant’s address or state, you can search in this field for the location.
Once done, click the Upload entry button. The entry may take a few minutes to appear in the dashboard.