When you start a new Interview Upload project you will start on the below page. This page lets you upload videos or IDIs from outside sources to the platform. We have created some fake participants and a task for you (these will not be made for you in any other project type where you use this functionality) so you can easily input them to the project with out having to put real details in.
Pick a participant, choose the “Interview Notes” task, and upload your file. You will see it in your dashboard, where you can watch, transcribe, code, and analyze it. Please note: If you are uploading a large file, such as a 30-minute IDI, it may take over 10 minutes to appear on our dashboard. Once the file is ready, you will be able to access it. Please make sure to only use the dummy participants or add your own dummy participants on this page. For instance, if you prefer to use real names for the participants, you can add your own participants. When doing so, you can use a fake email address in the first field, as no emails will be sent for this project type. Please ensure that you fill in all required fields marked with a blue star.
Please remember: This functionality is possible in all project types. So if you prefer to upload an IDI into a project where you have collected entries you can do so. Please reach out to support@ethosapp.com if you have questions on how this page works.
When you get to the page, you will see menu items. You only need to choose a Participant, Task, and upload a file, the other fields are all optional.
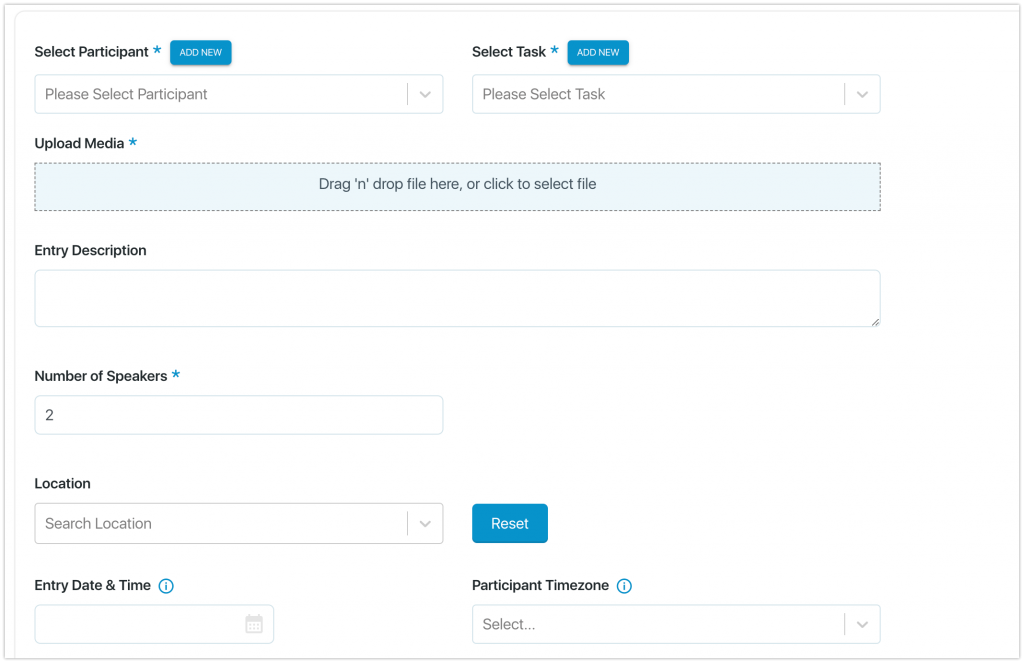
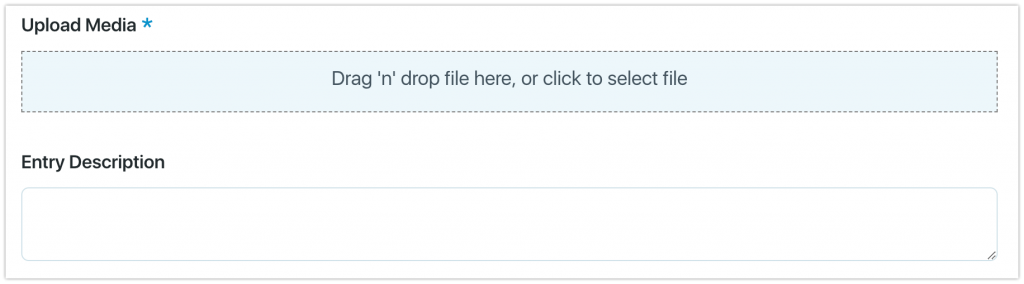
Upload Media
In the upload media, select the file from your computer (video or audio). The second field of ‘Entry Description’ is where you will leave a comment on what this file is. Eg. 1 on 1 Interview with John Doe on 1/20/24. This is an optional field and can be ignored.
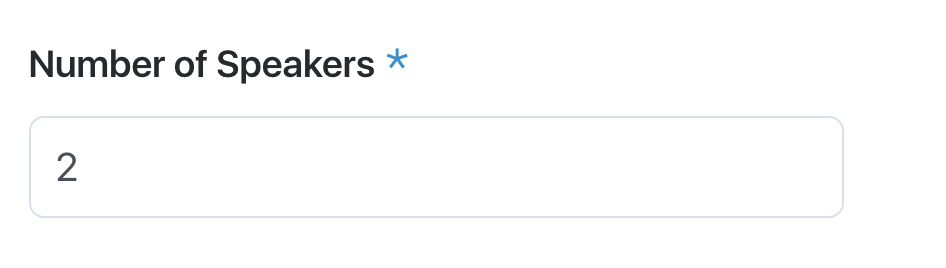
Number of speakers
You will define the number of Speakers for this audio or video recording. If it is just you, the moderator, and the participant, then you would put 2. If more people were talking during it, you would put how many in this box.
Location Field
The Location field is optional. If you know the participant’s address or state, you can search in this field for the location.
Entry Date & Time
The Entry Date & Time selection allows you to place the entry at your chosen time. For instance, maybe the Zoom meeting was three days ago, and you want to ensure it is placed in the dashboard on that date and time (this would only matter if you had additional entries in your project). If you do not choose a date & time, the entry will be set as the most recent entry in the dashboard at the current date and time.
The Participant Timezone field allows you to select from a list of time zones. If you know the participant’s time zone, select it, and the entry in the dashboard will show the current time of this upload in that participant’s time zone. If you do not know, leave it blank; this entry will default to Eastern Standard Time.

Once finished, click the Upload Entry button. The file will start to upload; it may take several minutes, depending on how big the file is. The maximum file size supported is 5 GB. However, if your file is over 1 GB, you may want to compress it before uploading. Even after the progress bar completes it will take a few minutes for the file to be shown on the dashboard.
Dashboard
Once our system processes the upload, the file will be viewable on the dashboard, and you will no longer see this page when you re-enter the project. You can however upload additional files by clicking Admin > Upload External Videos or IDIs if you want to upload more. You can run filters on the task name and person name, code the file, and utilize instant insights to pull key findings.
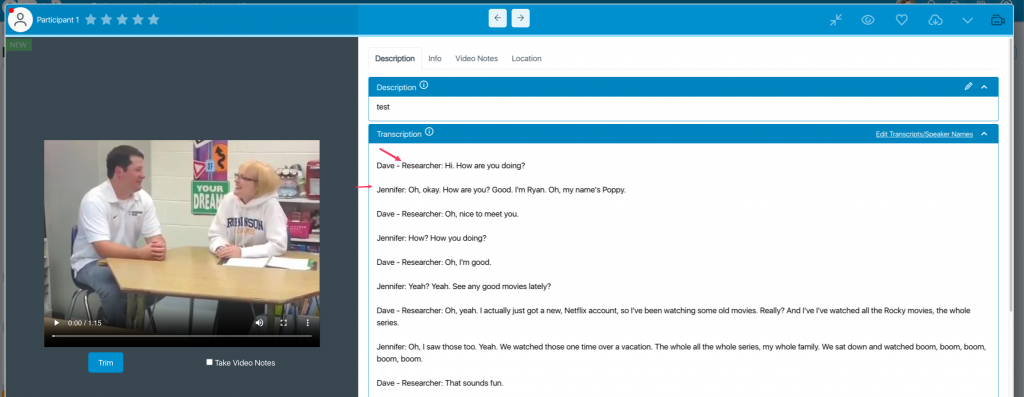
To name the speakers in the project, simply expand an entry and click the “Edit Transcripts/Speakers Name” button, as illustrated below.
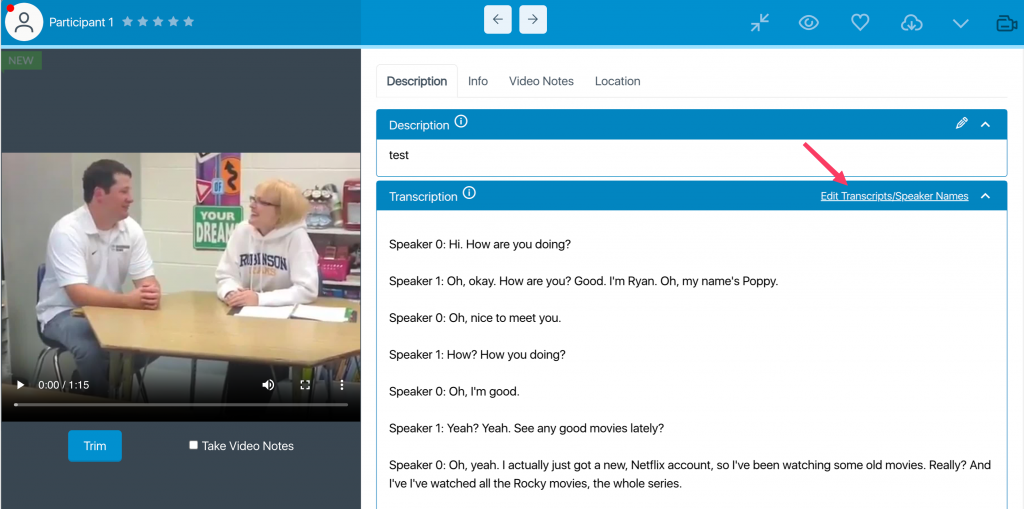
Select the default speaker names, such as Speaker 0, Speaker 1, and so on. Modify them as desired, then click the “Update Speakers” button to save your changes.

The updated speaker names are now applied and correctly displayed in the expanded entry.